I Thought My NAS Drive Had Failed. It Hadn’t.
My NAS told me one of my drives had failed, yet SMART reported everything as healthy. The logs told a completely different story. What made it more confusing was that these weren’t old drives, with roughly 9,000 hours of runtime, well within their expected lifespan. If you are running a UGREEN DXP2800 with WD Red Plus drives and have seen “WRITE FPDMA QUEUED” errors, this post may save you from replacing a perfectly good disk.
TLDR
If your DXP2800 shows “WRITE FPDMA QUEUED” errors with WD Red Plus drives, especially WD80EFPX, it may be a SATA interface compatibility issue rather than a failing disk. Forcing SATA to 3.0Gbps resolved it in my case.
My Setup
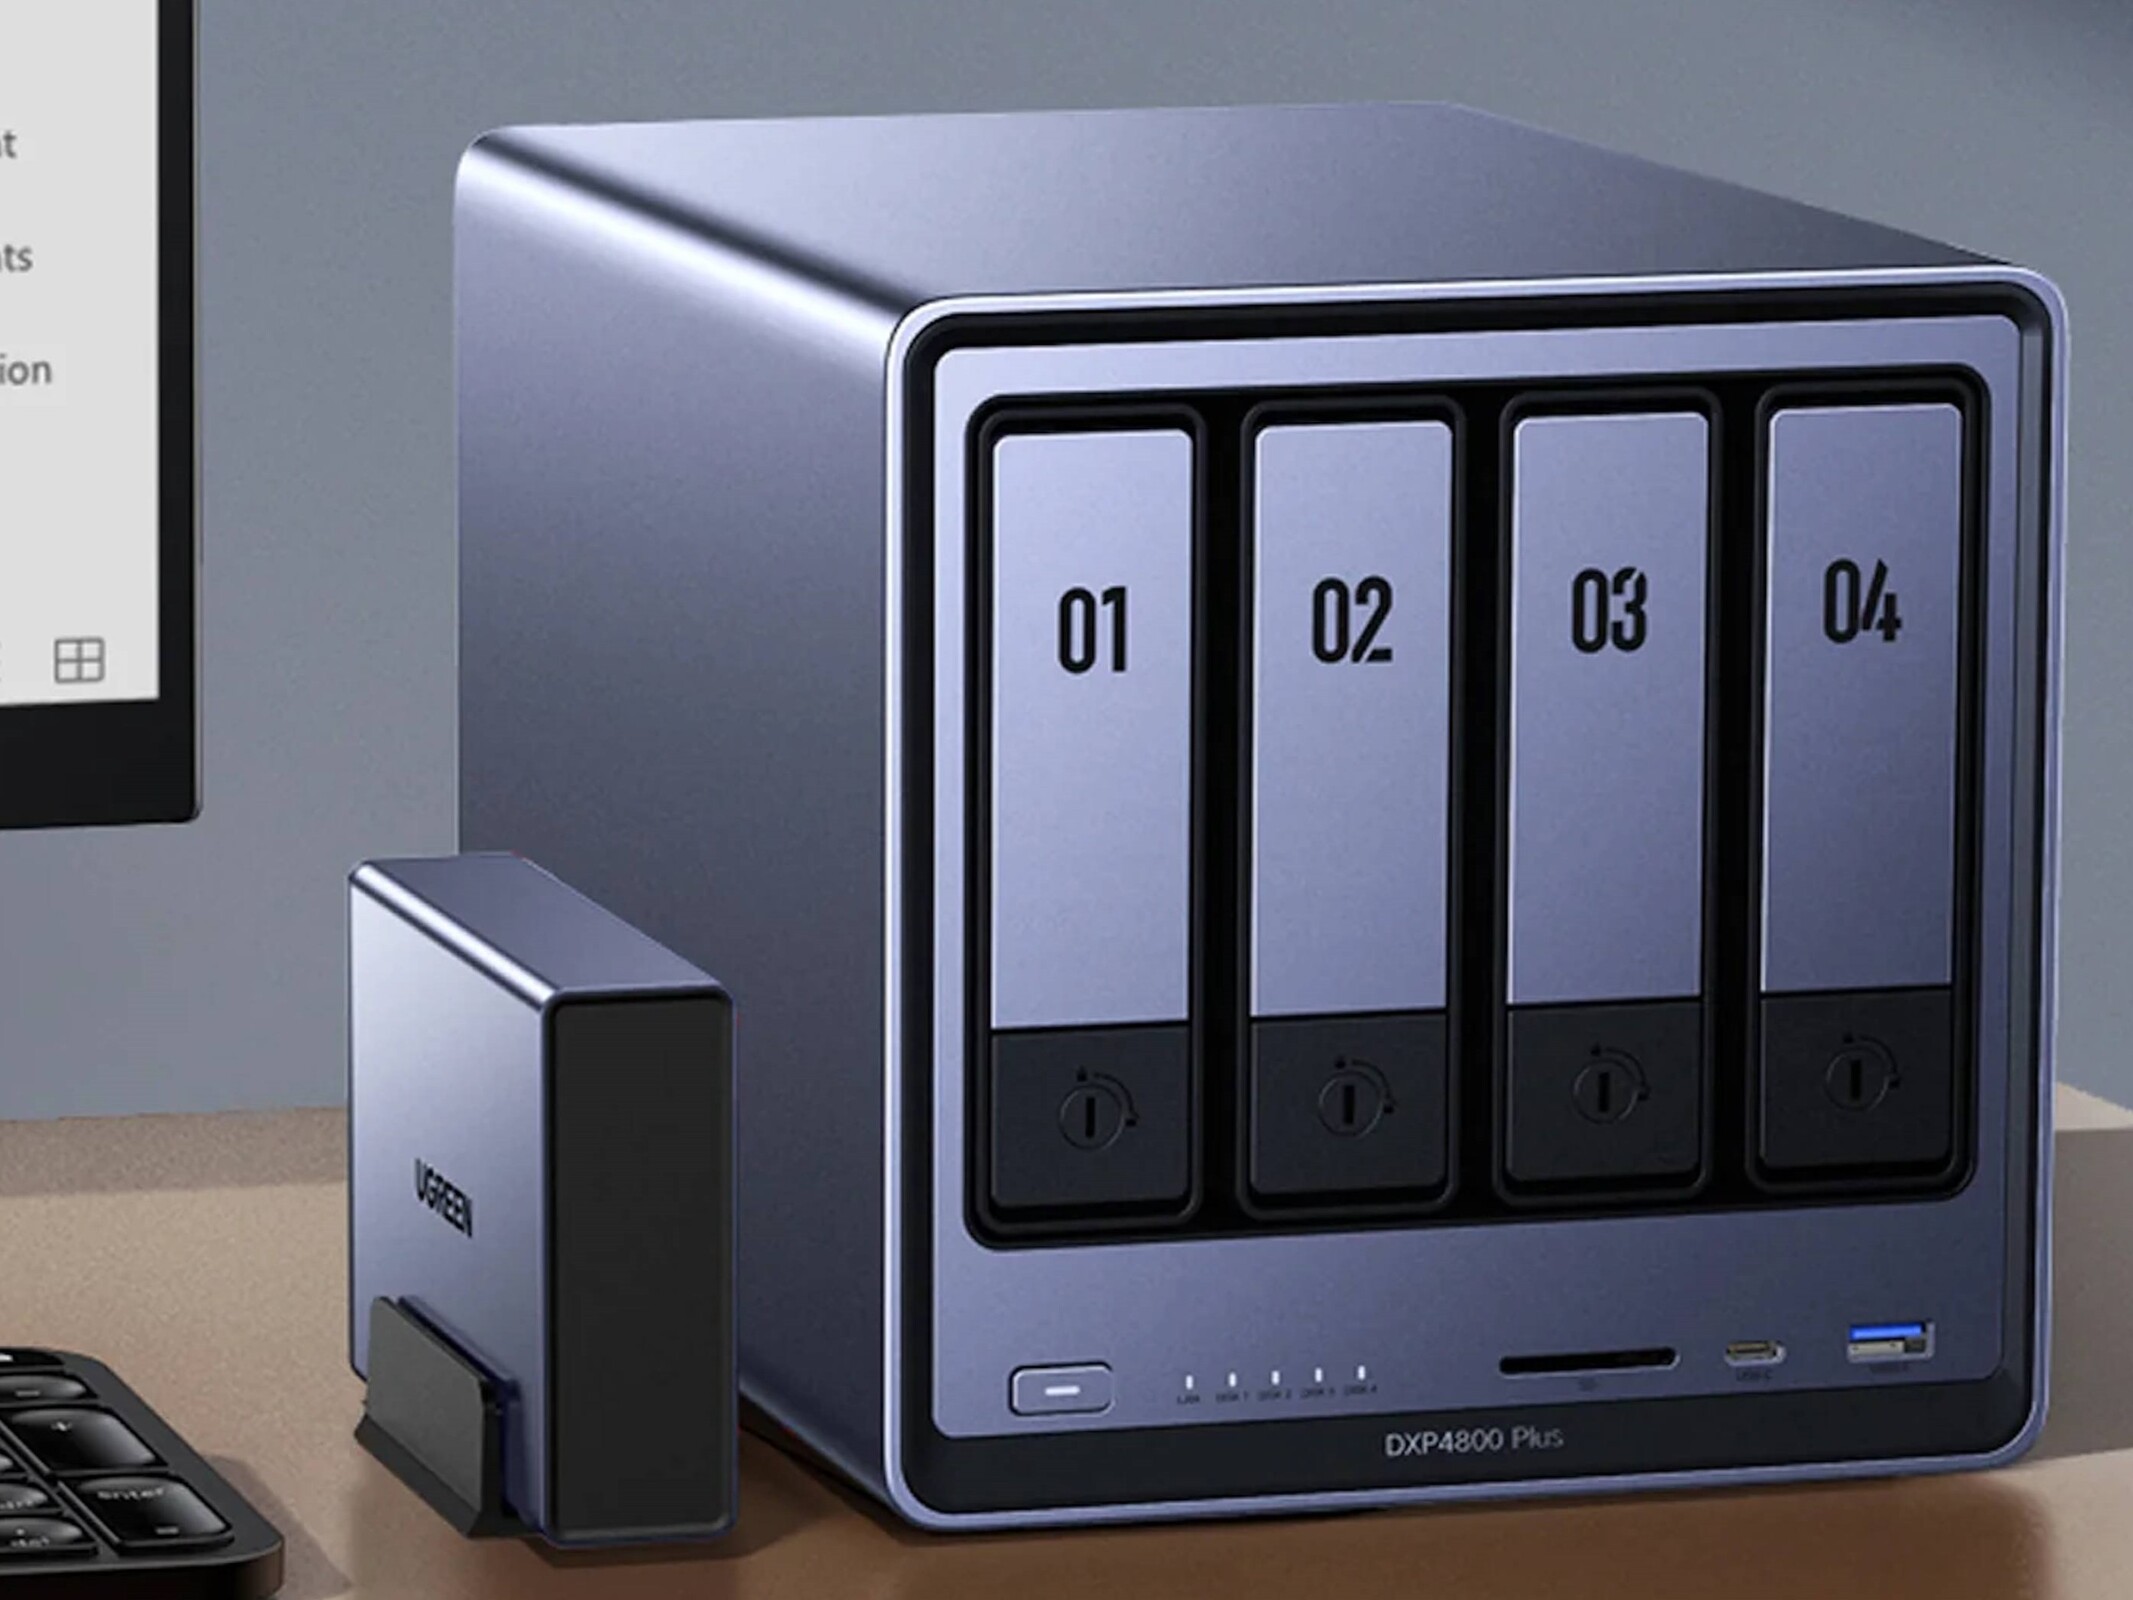
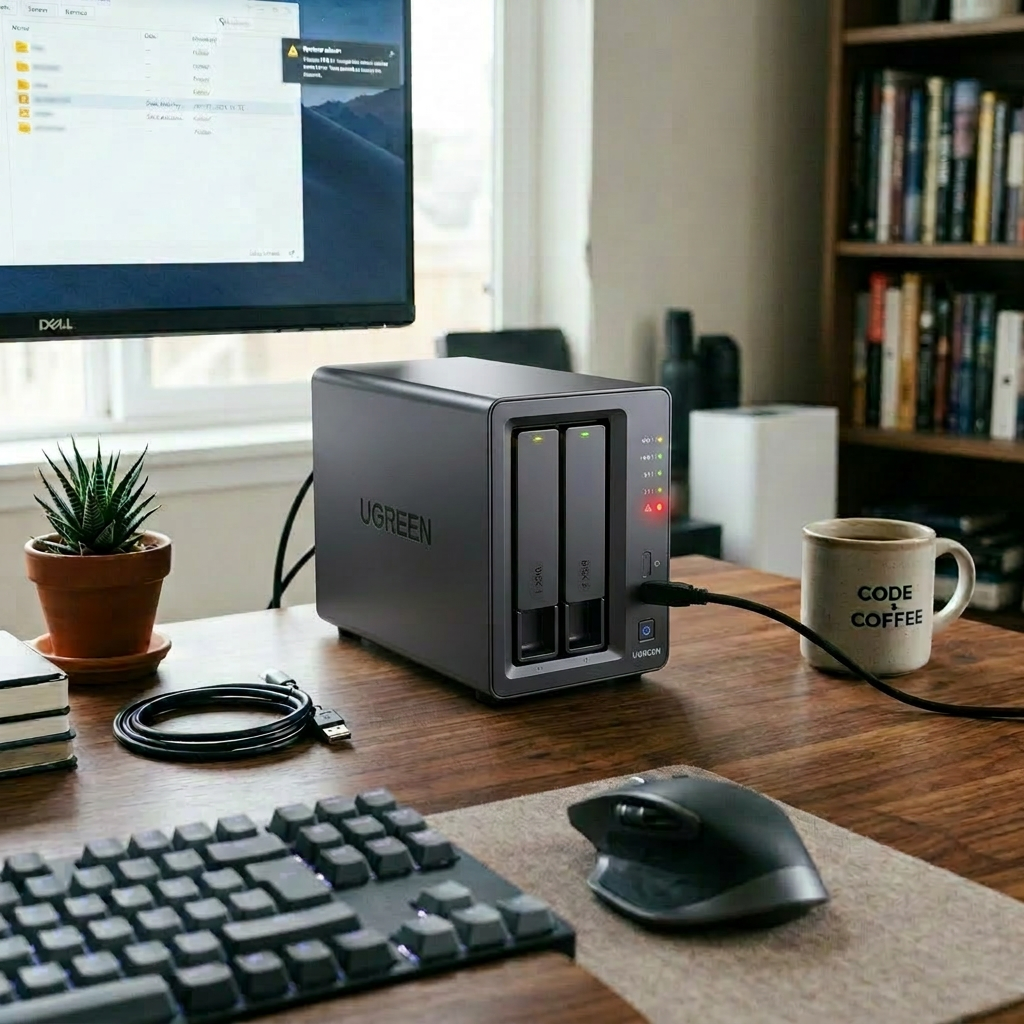
NAS: UGREEN DXP2800
Configuration: RAID 1
Drives: 2 x WD Red Plus 8TB, model WD80EFPX
The Problem

My storage pool suddenly became degraded and the drive in Slot 2 was marked as broken. When I checked the logs I kept seeing the same error, “WRITE FPDMA QUEUED”. At first I assumed this had just happened, but after digging into the logs properly I realised the same error had been appearing intermittently for weeks, possibly months. I had simply not noticed it earlier because everything continued to function until the RAID finally dropped the disk.
Symptoms to Look For
If you are seeing a degraded RAID, SMART showing no issues, and repeated “WRITE FPDMA QUEUED” errors in your logs, you are likely dealing with the same problem.
What I Tried First
I started with the usual checks to rule out something simple. SMART data looked normal, quick and extended tests passed, and temperatures were well within range. I then reseated the drive using hot swap. After reseating, the NAS automatically began rebuilding the RAID, which initially looked promising. However, during the rebuild the same WRITE error appeared again. That confirmed this was not a loose connection or a one off glitch.
Why This Was Confusing
When a drive fails you normally expect SMART warnings, reallocated sectors, or obvious read or write issues. In this case everything pointed to a healthy disk, yet the NAS had removed it from the array. That mismatch is what makes this issue particularly frustrating.
What I Found
After searching around I found multiple reports of the same behaviour with the DXP2800 and WD Red Plus drives, especially the WD80EFPX models. The same error kept coming up, which strongly suggested a compatibility issue rather than a failing disk.
Contacting Support
At that point I contacted UGREEN support and shared my logs. They responded much faster than I expected, in some cases within minutes, and got straight to the point. This was easily one of the best support experiences I’ve had with any company. They reviewed the logs, identified the root cause, and provided a clear fix without any unnecessary back and forth. They explained that some WD Red Plus drives have a narrow tolerance for signal timing at higher SATA speeds, which can cause instability with certain units. In other words, the drive and the NAS were not failing, but they were not communicating reliably at full speed.
The Fix
The solution they provided was to force the SATA interface to operate at 3.0Gbps instead of 6.0Gbps. This improves signal stability and prevents the write errors. The change is made by adding the kernel parameter “libata.force=3.0Gbps” to the boot configuration.
⚠️ Important Before You Try This
The steps below were provided directly by UGREEN support after reviewing my logs. Since this involves system level changes, take your time and double check each step before applying it. Mistakes here can prevent the system from booting correctly. Make sure your RAID is healthy or your data is backed up before making changes, and avoid interrupting the system while editing or rebooting. If you are unsure or running a different configuration, I would strongly recommend contacting UGREEN support first. I am simply sharing what worked in my case.
Step by Step Fix

These commands are run on the NAS itself via SSH. The SSH connection step works the same on macOS and Windows PowerShell.
1. Connect to your NAS via SSH
ssh yourusername@your-nas-ip
Enter your NAS password when prompted.
2. Gain root access
sudo -i
Enter your password again if prompted. You should now see a prompt ending with # which means you are running as root.
3. Confirm the files exist
ls -l /boot/EFI/debian/grub.cfg /boot/EFI/debian/grub.am
4. Backup the configuration files
cp /boot/EFI/debian/grub.cfg /boot/EFI/debian/grub.cfg.bk
cp /boot/EFI/debian/grub.am /boot/EFI/debian/grub.am.bk
5. Edit grub.cfg
vi /boot/EFI/debian/grub.cfg
When the file opens:
Press i to enter insert mode.
Find the line that starts with:
linux /boot/vmlinuz
Move your cursor to the end of that line and add:
libata.force=3.0Gbps
Make sure there is a space before libata.
Press Esc to leave insert mode.
Type the following and press Enter to save and exit:
:wq
6. Edit grub.am
vi /boot/EFI/debian/grub.am
Repeat the same process:
Press i to edit.
Find the line starting with:
linux /boot/@VMLINUXZ@
Add to the end of that line:
libata.force=3.0Gbps
Press Esc, then type:
:wq
and press Enter.
7. Reboot the NAS
reboot
Your SSH session will disconnect. Wait a minute or two for the NAS to come back online.
8. Verify the change
Reconnect via SSH and run:
cat /proc/cmdline

You should see libata.force=3.0Gbps in the output. If it is present, the fix has been applied successfully.
9. Exit root and SSH
exit
exit
Does This Affect Performance
In practice it does not. SATA 3.0Gbps provides roughly 300MB per second of bandwidth, while most mechanical hard drives top out around 200 to 250MB per second. The interface is still faster than the drive itself, so there is no noticeable impact in real world use.
The Result
After applying the fix the RAID rebuild completed successfully, the storage pool returned to a healthy state, and the WRITE errors stopped appearing. Everything has been stable since.
Fix or Replace
If SMART shows no issues and you are seeing these specific errors, it is worth trying the fix first. If errors continue after applying it, or the disk drops from the array again, then replacing the drive becomes the safer option. Alternatives such as Seagate IronWolf or Toshiba N300 have worked well for others.
Note for the Future
This change is applied at the boot configuration level. If you update your NAS firmware or system software, these files may be overwritten.
If the error ever returns after an update, check whether the libata.force=3.0Gbps line is still present in both files.
Final Thoughts
This caught me off guard. Everything about the setup was technically supported, and the drives themselves were still relatively new, so a failure was not something I expected. It turned out to be a compatibility issue that only showed up under real world conditions, which made it even harder to diagnose. Credit to UGREEN support for identifying the root cause quickly and providing a fix that worked straight away. Hopefully this helps if you run into the same problem.