Tag: nas backup

  • NAS Security Best Practices: How to Protect Your Smart Home Storage in 2025

    NAS Security Best Practices: How to Protect Your Smart Home Storage in 2025

    Smart homes are only as strong as their weakest link — and for many people, that link is their NAS. Whether you’re backing up family photos, streaming media, or running Docker apps like Home Assistant, your NAS is central to daily use. But with that convenience comes risk: if left unsecured, it can be a prime target.

    In this post, we’ll look at practical security measures anyone can take, along with real-world examples of how they’re applied.


    Why NAS Security Matters

    Your NAS is more than just storage. It can hold personal documents, sensitive media, or even act as a server for automation. If compromised, you risk data loss, identity theft, or someone using your device as part of a botnet. NAS attacks often involve ransomware, where hackers encrypt your files and demand payment for the key. Others exploit weak passwords or outdated firmware.

    Securing your NAS doesn’t just protect your files. It safeguards your privacy, prevents downtime for your smart home, and ensures your backups are truly reliable.


    Step 1: Enable Two-Factor Authentication (2FA)

    Passwords alone are no longer enough. Attackers often use brute-force attacks or leaked credentials to get into devices. Two-factor authentication (2FA) adds a crucial extra step, requiring both your password and a second code (usually sent to your phone or generated by an authenticator app).

    Why it matters:

    • Protects you if your password is leaked in a data breach.
    • Makes brute-force attacks nearly impossible.
    • Adds security for admin accounts that have full system access.

    On modern NAS platforms like Synology, QNAP, UGREEN, Asustor, and TerraMaster, enabling 2FA takes only a few minutes. It’s one of the simplest but most effective steps you can take.


    Step 2: Secure Remote Access

    One of the biggest mistakes NAS owners make is exposing their system directly to the internet with port forwarding. Hackers constantly scan for open NAS ports, making this extremely risky.

    Safer alternatives:

    • Vendor Remote Access Services: Systems like Synology QuickConnect, QNAP myQNAPcloud, and UGREEN Link let you connect remotely without opening ports. These encrypt your traffic and relay it through secure servers.
    • VPN Access: A VPN connection to your home network gives you direct access to your NAS while keeping it hidden from the wider internet.

    Why it matters:

    • Prevents unauthorised scanning and login attempts.
    • Keeps your NAS invisible to opportunistic attacks.
    • Ensures encrypted communication when you’re away from home.

    If you value convenience, stick with the vendor’s remote access app. If you want maximum control, set up a VPN on your router.


    Step 3: Keep Firmware and Apps Updated

    Outdated firmware and apps are one of the most common ways attackers break into devices. Security patches fix vulnerabilities, but only if you install them.

    Why it matters:

    • New exploits are constantly discovered and shared online.
    • Running old firmware is like leaving your front door unlocked.
    • Updates also improve stability and sometimes add new features.

    Best practice:

    • Enable auto-updates where possible.
    • Manually check for firmware or Docker container updates once a month.
    • Subscribe to vendor newsletters or RSS feeds to stay aware of security advisories.

    Step 4: Backups Beyond RAID

    A common misconception is that RAID = backup. It doesn’t. RAID only protects against drive failure, not against ransomware, accidental deletions, or theft. To keep data truly safe, you need a separate copy stored elsewhere.

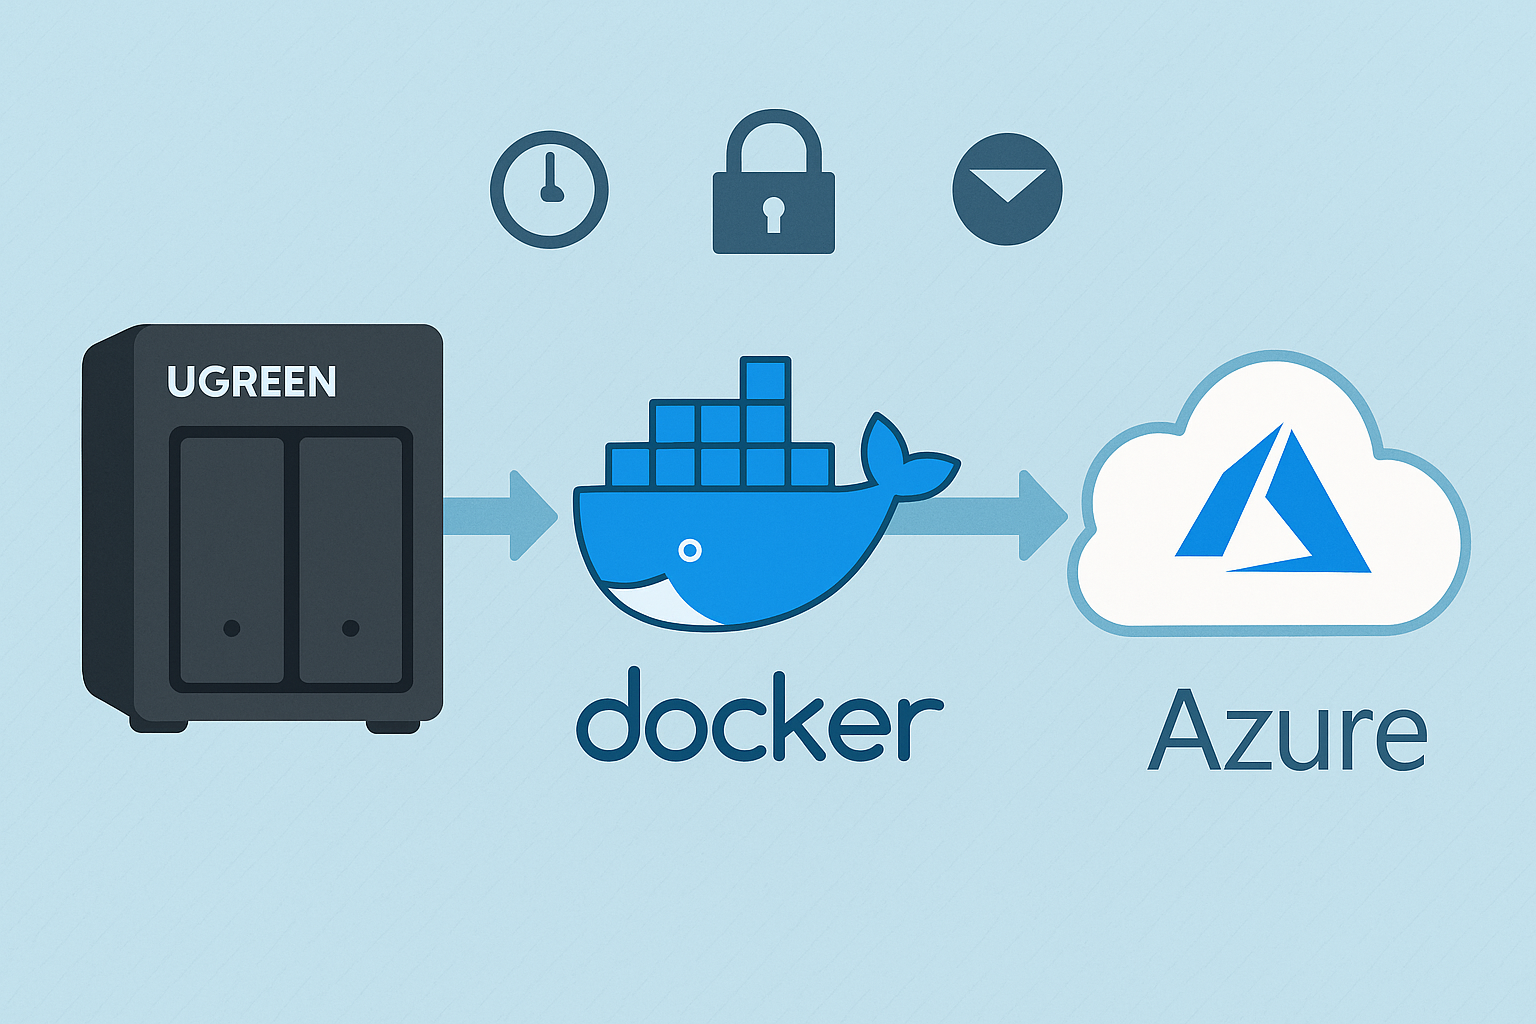
    Backing up NAS data to Azure Blob storage ensures off-site redundancy and protection against disasters.

    There are several approaches:

    • External HDDs: Rotate them regularly and keep one off-site.
    • Cloud storage: Services like Backblaze B2, Google Drive, or Dropbox can work well with NAS sync tools.
    • Hybrid setups: Use both local and cloud storage for maximum redundancy.

    In my case, I use Azure Blob Storage as my off-site backup. It integrates with my NAS through rclone, a powerful command-line tool for syncing files to cloud storage providers. Once configured, it allows my NAS to automatically copy critical folders to Azure, giving me a secure, off-site backup that isn’t affected by local issues like drive failure, ransomware, or even physical damage.

    🔗 For a full walkthrough, check out my dedicated post on Automating NAS Backups to Azure with rclone.

    Why this matters:

    • Protects against ransomware wiping out your NAS data.
    • Provides recovery if your house suffers fire, flood, or theft.
    • Gives peace of mind knowing you have a copy far away from your home setup.

    Step 5: Strengthen Your Network

    Your NAS security depends heavily on your network. Weak Wi-Fi or outdated routers leave doors open for attackers, and insecure IoT devices can be an easy way in.

    What to do:

    • Use WPA3 or WPA2 encryption with a long, unique passphrase to secure your Wi-Fi.
    • Segment IoT devices (cameras, bulbs, sensors) onto a separate VLAN or guest Wi-Fi so they can’t directly reach your NAS. This prevents a compromised smart bulb or camera from giving access to your storage.
    • Update router firmware and disable unused services like UPnP, which can automatically open ports without your knowledge.
    • Enable firewall rules on your router if available, restricting which devices can talk to your NAS.

    In my own home, I’ve segmented IoT devices onto a separate network, keeping them isolated from my NAS and main devices. This way, even if a low-cost smart plug is compromised, it can’t talk directly to my storage or other critical systems.

    Why it matters:

    • Prevents weaker IoT devices from being exploited as entry points.
    • Stops attackers from using compromised devices to pivot to your NAS.
    • Improves overall network hygiene and peace of mind.

    For more detail and a step-by-step breakdown, check out my guide on How to Set Up a Secure Home Network the Right Way.


    Step 6: Control User Access

    Not every account needs admin rights. Many breaches cause maximum damage because compromised accounts had unnecessary privileges.

    Best practice:

    • Create a separate admin account you rarely use.
    • Use standard accounts for day-to-day access.
    • Restrict shared folder permissions so each user only sees what they need.

    Why it matters:

    • Limits the scope of damage if one account is compromised.
    • Prevents malware from spreading across all shares.
    • Keeps sensitive data private even within households or teams.

    Step 7: Monitor Logs and Alerts

    Most NAS systems include logs and alert systems — but many users ignore them. Checking them regularly gives early warning of issues, but you can go further by enabling real-time notifications.

    What to watch:

    • Repeated failed login attempts
    • Unknown IP addresses trying to connect
    • Unexpected spikes in CPU or network activity

    How to stay on top of it:

    • Enable email or mobile app notifications for login failures, drive health problems, or service errors.
    • Configure thresholds for CPU, memory, and storage so you’re warned before problems escalate.
    • Use push notifications from your NAS app for immediate alerts.

    Why it matters:

    • Lets you respond before an attack succeeds.
    • Helps identify misconfigured devices or apps.
    • Reduces the need for constant manual log checks.

    Challenges and Trade-Offs

    Securing your NAS brings major benefits, but it isn’t without compromises. Understanding these trade-offs helps set realistic expectations:

    Convenience vs Security
    Extra steps like VPN logins or 2FA make systems safer but can feel less convenient. Vendor apps are easier but require trusting their infrastructure.

    Performance Costs
    Features such as drive encryption or real-time virus scanning can reduce speeds, especially on lower-powered NAS units.

    Compatibility Issues
    Older devices may not support WPA3 Wi-Fi, 2FA, or stricter firewall rules, which could limit some security options.

    Financial Costs
    VPN subscriptions, higher-end routers, and cloud backups like Azure or Backblaze all add to running expenses. External drives or UPS units also add to the budget.

    Learning Curve
    Configuring VLANs, VPNs, or tools like rclone takes technical know-how. Beginners may want to start with basics such as updates, strong passwords, and vendor apps before moving to advanced setups.


    Final Thoughts

    Securing your NAS isn’t about making it complicated. It’s about layering simple, practical defences that drastically reduce risk. With 2FA, safe remote access, regular updates, strong backups, and basic network hygiene, you can protect your files and your smart home from the most common threats.

    I’ve applied these measures to my own NAS setup, and the peace of mind is well worth the effort. Whether you’re using a Synology, QNAP, UGREEN, or another brand such as Asustor or TerraMaster, the principles remain the same — a little preparation now avoids much bigger problems later.


    💡 If you’re just getting started with NAS, check out my post on Setting Up the UGREEN NASync DXP2800: A Beginner-Friendly Guide. For a longer-term perspective, I also reviewed it after 2 months of daily use here.
  • Keeping Your Smart Home Online: Best Power & Backup Solutions for 2025

    Keeping Your Smart Home Online: Best Power & Backup Solutions for 2025

    Smart homes thrive on reliability. From your NAS storing critical data to your cameras keeping watch and your router connecting it all, everything depends on uninterrupted electricity. Yet power cuts, surges, or even short flickers can disrupt your entire setup — leaving you without security, access, or data integrity.

    The good news is there are straightforward ways to protect your system. Let’s break down the best options, from simple surge protectors to whole-home backup systems.

    💡 Disclosure: This post contains affiliate links. If you buy through these links, I may earn a commission at no extra cost to you. This helps support the blog and keeps content free.


    Why Power Protection Matters for Smart Homes

    A smart home without power is just a house full of expensive devices. Sudden outages can:

    • Corrupt data on your NAS or RAID array
    • Interrupt camera recording and leave blind spots
    • Drop your internet connection, cutting you off from alerts or remote access
    • Reset devices mid-update, sometimes causing configuration errors

    Even short interruptions can create frustration or trigger costly rebuilds. That’s why building in layers of power protection is so important.

    👉 If you’re new to NAS setups, check out my Beginner’s Guide to Setting Up the UGREEN NASync, which shows how I built the base of my smart home.


    Types of Power Protection

    1. Surge Protectors – Affordable First Line of Defence

    The entry-level option but still critical. A surge protector shields your equipment from voltage spikes caused by lightning strikes, faulty wiring, or grid instability. Without one, a single surge could fry your NAS or router.

    What to look for:

    • Joule rating: Higher is better. Aim for at least 2000 joules for electronics like NAS units or routers.
    • Status indicators: Good models have a light or alert to tell you if protection is still active.
    • Form factor: Choose between power strips (flexible) or wall-mounted units (tidier for smaller setups).

    Popular brands: Belkin, APC, Anker. These companies offer reliable surge protection for smart home gear at accessible prices.

    View Surge Protectors on Amazon

    A surge protector is the simplest way to shield smart home devices from damaging power spikes.

    2. UPS (Uninterruptible Power Supply) – Instant Protection

    A UPS is the first real step toward resilience. It provides instant failover power using an internal battery, so your devices never actually see the power drop. Think of it as a short-term safety net.

    Common types:

    • Standby UPS – basic, designed for small loads like routers and modems.
    • Line-interactive UPS – balances cost and performance, great for NAS devices and small servers. They regulate voltage as well as provide battery backup.
    • Online/double-conversion UPS – professional-grade, converting incoming AC to DC and back again, delivering clean and stable power continuously. Ideal for heavier smart home labs.

    Popular brands: APC and CyberPower are widely used for home and small office setups, with options ranging from budget-friendly to advanced models with software integration.

    View UPS Options on Amazon

    💡 Example: Running a NAS behind a line‑interactive UPS gives you 20–60 minutes of runtime, enough to trigger auto‑shutdown or ride out short outages. For more on how the NAS fits into my day‑to‑day setup and workflows, see my 2‑Month Review of the UGREEN NASync.

    A UPS provides instant backup, keeping your NAS and router online during short outages.

    3. Portable Power Stations – Flexible Extended Runtime

    Portable power stations look like large battery packs, but unlike a UPS, they don’t provide seamless switchover. If the power cuts, your devices will turn off unless you manually connect them to the station. They’re best seen as extended runtime solutions for longer blackouts.

    Where they shine is flexibility. Many manufacturers now offer robust options that can also integrate with solar panels for emergency recharging:

    • Anker – The SOLIX range includes compact and heavy-duty stations, some even supporting EV charging. Anker is known for reliability, sleek design, and good warranty support, making them a safe choice for newcomers.
    • EcoFlow – Recognised for modular systems and excellent solar integration. Their fast-charging batteries and intuitive apps make EcoFlow ideal if you want portability and speed when recharging.
    • Bluetti – A favourite for large capacity and modular expandability. Often chosen by users who need long runtimes or semi-permanent backup solutions for home labs and smart homes.
    • Jackery – A market leader in portable stations, particularly their solar generator kits. Jackery units are beginner-friendly, simple to set up, and pair well with solar panels for off-grid or emergency use.

    These brands provide models at different capacities, from a few kWh to much larger setups. The right one depends on how long you need to run your devices and what you want to keep powered.

    Portable power stations give hours of runtime and can recharge from solar, making them ideal for longer outage

    4. Whole-Home Battery Storage – Ultimate Resilience

    If you want complete resilience, whole-home systems keep everything running seamlessly, not just select devices.

    • Anker SOLIX X1 – Modular from 5 kWh to 180 kWh, solar-ready, with ultra-fast 20 ms switchover.
    • Tesla Powerwall 2 – 13.5 kWh per unit, stackable, widely available, integrates tightly with solar setups.
    • LG Chem RESU – Compact home battery solution, popular in solar installations.

    These options are expensive, but they ensure your smart home, security, and even EV charging continue uninterrupted during extended blackouts.

    Whole-home battery systems like the Anker SOLIX X1 provide seamless backup for your entire house.

    👉 Curious about how this ties into broader smart home resilience? My post on AI Transforming Smart Homes in 2025 shows how AI plus reliable power makes automation much more effective.


    How Much Backup Do You Need?

    It’s easy to overestimate. Think about what you actually need alive during an outage:

    • Small setups (NAS + router + PoE switch): under 200 W. A basic 600–850 VA UPS will keep this alive for 20–30 minutes. Just enough for safe shutdowns.
    • Medium setups (add servers, hubs, multiple cameras): 1000–1500 VA UPS is better. Expect 30–60 minutes depending on load.
    • Larger setups (multi-camera security, home lab equipment): consider 2000 VA+ UPS or a portable power station for several hours runtime.
    • Whole-home resilience: if you want lights, heating/cooling, and appliances powered too, only a home battery system like Tesla Powerwall or Anker SOLIX X1 will cut it. These deliver many hours, even days, of backup depending on size and load.

    💡 Pro tip: Check the wattage of each device (often listed on power bricks). Add them up, then pick a backup option that supports at least 20–30% more capacity than you need.


    Challenges & Trade-Offs

    No solution is perfect, and it’s worth knowing the downsides before you invest:

    • Surge Protectors – Cheap but not foolproof. They wear out over time (joule capacity is finite), so they need replacing every few years.
    • UPS systems – Excellent for seamless protection, but the internal batteries degrade and usually need replacement every 3–5 years. Runtime is limited — they’re for short interruptions, not long blackouts.
    • Portable Power Stations – Offer flexibility and long runtime, but no automatic failover. You’ll need to switch devices manually when power goes out. They’re also heavier and pricier than a basic UPS.
    • Whole-Home Batteries – The gold standard, but very expensive and often require professional installation. They also take up space and may need integration with solar for best results.

    Understanding these trade-offs helps you pick the solution that fits both your budget and your actual needs.


    Final Thoughts

    Power is the weakest link in most smart homes. You can have the best NAS, the most advanced cameras, and perfectly tuned Wi-Fi, but when electricity drops, it all collapses.

    The good news? You don’t have to spend thousands right away. Start small with a surge protector and a UPS for your router and NAS. If resilience matters more, expand into portable power stations with solar charging, or go all-in with whole-home battery storage.

    👉 If you’re planning upgrades, visit my Recommended Gear page where I’ll be adding UPS, surge protection, and backup solutions. Because a smart home should be reliable — even when the lights go out.

    💬 What are you using to keep your smart home online? Would you stick with a UPS or go all-in on a whole-home system? Share your setup in the comments — your tips might help someone else build a more resilient home!


    Image Credits:

    • Surge Protector: Geeni (official product image)
    • UPS: APC (Smart-UPS product line)
    • Portable Power Stations: Anker, EcoFlow, Bluetti, Jackery (official product photos)
    • Whole-Home Battery: Anker SOLIX X1 (official press image)
  • Automated NAS Backup to Azure with rclone: UGREEN NAS Guide

    Automated NAS Backup to Azure with rclone: UGREEN NAS Guide

    Backing up your NAS is essential to protect against data loss from hardware failure, theft, or natural disasters. In this guide, I’ll walk you through how I set up a backup from my UGREEN NASync DXP2800 to Azure using rclone, based on the exact process I followed. Each step includes context so you understand not just how to do it, but why.

    Why Azure?

    Azure is a robust cloud storage option offering high reliability, excellent redundancy, and flexible access tiers specifically designed for backup and archiving. While Azure doesn’t provide a permanent free tier (unlike services such as Google Drive), it does offer generous trial credits to new users. To minimise ongoing storage costs without these credits, I recommend using the Cool or Archive storage tiers—both ideal for backups that don’t require frequent access.

    Other options: rclone supports a wide range of cloud providers. Here are a few great alternatives:

    • Backblaze B2 – Very affordable, especially for large backups. Well-supported by rclone.
    • Google Drive – Great for personal backups. Offers 15GB free and integrates easily.
    • Wasabi – Flat-rate pricing and no egress fees. A strong S3-compatible choice.
    • Dropbox – Easy to use with good syncing capabilities, though pricing can be high for large storage needs.
    • Amazon S3 – Enterprise-grade option, scalable but more complex to configure and can get expensive.

    You can easily substitute Azure in this guide with one of the above by changing the remote configuration step.

    Step 1: Generate rclone Configuration File

    To make rclone work from Docker, I first created a persistent config file using a temporary container:

    docker run -it --rm \
      -v /mnt/data/rclone-config:/config \
      --env XDG_CONFIG_HOME=/config \
      rclone/rclone config

    Walk through the prompts:

    • Select n to create a new remote.
    • Name it something like myremote (avoid using your NAS or personal name).
    • Select storage type 34 for Azure Blob Storage.
    • Enter your Azure Storage Account Name for account.
    • Enter your Access Key for key.
    • Leave endpoint blank.
    • Skip advanced config and auto config by selecting n.

    Once complete, the config will be saved as /mnt/data/rclone-config/rclone.conf on your NAS, ready for Docker containers to use.

    🛠️ Tip: To test that it works:

    docker run --rm \
      -v /mnt/data/rclone-config:/config \
      --env XDG_CONFIG_HOME=/config \
      rclone/rclone:latest lsd myremote:mycontainer \
      --config="/config/rclone.conf"

    Step 2: Create the Backup Script

    This script is broken into three parts: syncing data, deleting older backups, and emailing on failure. Each part is explained below.

    I wanted versioned backups and automatic cleanup of older ones. Here’s the exact script I used:

    #!/bin/sh
    
    LOG_FILE="/mnt/data/rclone-config/monthly_backup.log"
    CONFIG="/mnt/data/rclone-config/rclone.conf"
    REMOTE="myremote:mycontainer"
    BACKUP_NAME="nas-backup-$(date +%Y-%m)"
    DELETE_DATE=$(date -d "4 months ago" +%Y-%m)
    OLD_BACKUP_NAME="nas-backup-$DELETE_DATE"
    
    # 🔁 Sync Step – Copy /volume1 to a dated backup folder
    docker run --rm \
      -v /volume1:/data \
      -v /mnt/data/rclone-config:/config \
      --env XDG_CONFIG_HOME=/config \
      rclone/rclone:latest sync /data "$REMOTE/$BACKUP_NAME" \
      --config="/config/rclone.conf" \
      --log-file="/config/monthly_backup.log" \
      --log-level INFO \
      --exclude "@tmp/**"
    
    # 🧹 Retention Step – Delete backups older than 4 months
    docker run --rm \
      -v /mnt/data/rclone-config:/config \
      --env XDG_CONFIG_HOME=/config \
      rclone/rclone:latest purge "$REMOTE/$OLD_BACKUP_NAME" \
      --config="/config/rclone.conf"
    
    # 📧 Notification Step – Email if backup fails
    if [ $? -ne 0 ]; then
      echo "NAS Backup failed. See log below:" | mail -s "NAS Backup FAILED" you@example.com < "$LOG_FILE"
    fi

    📌 Note: Replace myremote and mycontainer with your rclone remote and Azure Blob container name. Avoid using identifiable names like your NAS hostname.

    Step 3: Enable Email Reporting on Your NAS

    To enable email alerts for failed backups, I used the built-in mail command entirely through SSH — no GUI or additional packages were needed.

    What I did:

    1. SSH into your NAS:
       ssh your-nas-username@your-nas-ip
    1. Test email functionality:
       echo "Test message" | mail -s "Test Email" you@example.com

    If you receive the test email, your NAS is already configured to send system emails.

    1. Check your mail config (if test mail fails):
      The system uses msmtp under the hood on many embedded NAS environments. Create or edit the config:
       vi /opt/etc/msmtprc

    Example configuration (for Gmail):

       defaults
       auth           on
       tls            on
       tls_trust_file /etc/ssl/certs/ca-certificates.crt
    
       account default
       host smtp.gmail.com
       port 587
       from your.email@gmail.com
       user your.email@gmail.com
       password your_app_password
       logfile /opt/var/log/msmtp.log
    1. Make sure permissions are correct:
       chmod 600 /opt/etc/msmtprc
    1. Export the config path if needed (some systems require this):
       export MSMTP_CONFIG=/opt/etc/msmtprc
    1. Retry your test email:
       echo "Test message" | mail -s "Test Email" you@example.com
    1. Add to your script:
      Make sure your backup script includes:
       if [ $? -ne 0 ]; then
         echo "NAS Backup failed. See log below:" | mail -s "NAS Backup FAILED" you@example.com < "$LOG_FILE"
       fi

    ✅ If your provider uses two-factor authentication, use an app-specific password. Most mail issues come down to wrong SMTP server, port, or missing trusted certs.

    Step 4: Schedule the Script with Cron

    To automate your backups, schedule the script using cron:

    Edit your crontab by running:

    crontab -e

    Then, add the following line:

    30 2 1 * * /volume1/scripts/backup_to_azure.sh

    Here’s what these numbers mean:

    • 30: Minute (0-59)
    • 2: Hour (0-23, where 2 is 2:00 AM)
    • 1: Day of the month (1-31)
    • *: Month (1-12, * means every month)
    • *: Day of the week (0-6, Sunday=0, * means every day)

    In this example, the backup script runs automatically at 2:30 AM on the 1st day of every month. Adjust these numbers according to your preferred backup schedule.

    ✅ Why this schedule? Monthly snapshots avoid daily clutter and keep backups manageable.

    Step 5: Verify Your Backups

    Confirm everything’s working with:

    cat /mnt/data/rclone-config/monthly_backup.log

    And list current backup folders:

    docker run --rm \
      -v /mnt/data/rclone-config:/config \
      --env XDG_CONFIG_HOME=/config \
      rclone/rclone:latest lsd myremote:mycontainer \
      --config="/config/rclone.conf"

    🔄 Optional Enhancements

    🔐 Encrypt Your Backups

    Want extra protection? Add a second rclone remote (type crypt) that wraps your Azure remote:

    rclone config
    • Create new remote myremote-crypt
    • Type: crypt
    • Remote: myremote:mycontainer
    • Set a strong password and salt

    Then replace the backup target in your script with:

    myremote-crypt:$BACKUP_NAME

    🔍 Restore Test

    Try restoring a test file from Azure to confirm you can actually recover data if needed:

    docker run --rm \
      -v /volume1/test-restore:/restore \
      -v /mnt/data/rclone-config:/config \
      --env XDG_CONFIG_HOME=/config \
      rclone/rclone:latest copy myremote:mycontainer/nas-backup-2025-05/testfile.txt /restore \
      --config="/config/rclone.conf"

    🧩 Troubleshooting & FAQ

    Q: My backup failed with a permissions error—how do I fix it?

    A: Make sure your Docker container has read permissions for /volume1 and that the rclone configuration (rclone.conf) is properly mounted. Also, confirm file permissions with chmod 600.

    Q: I received a network error during my backup—what can I do?

    A: Add retry options to your rclone sync command to enhance resilience against temporary network issues:

    --retries 5 --low-level-retries 10

    Q: My email notifications aren’t being sent—how do I troubleshoot this?

    A: Ensure the built-in mail command on your NAS works by testing from SSH:

    echo "Test Email" | mail -s "Test" you@example.com

    If it doesn’t, verify SMTP configuration (see Step 3 above).

    Q: How can I avoid hitting Azure bandwidth or cost limits?

    A: Use bandwidth limiting during uploads with:

    --bwlimit=8M

    Additionally, choose the “Cool” or “Archive” Azure tiers for cost efficiency.

    Q: Can I use another cloud provider instead of Azure?

    A: Absolutely! rclone supports many services like Backblaze B2, Google Drive, Dropbox, Wasabi, and Amazon S3. You simply adjust the remote setup step accordingly.

    Final Thoughts

    You now have automated, secure, and reliable backups ready to protect your valuable data. Have you tried setting this up yourself yet? I’d love to hear your experiences, challenges, or ideas for enhancements in the comments below. Happy backing up!

    If you’re interested in other NAS setups and configurations, you might find these previous posts helpful:

    Let me know if there are other topics you’d like to see covered!