Tag: smart home automation

  • The Smart Home Automations I Actually Use

    The Smart Home Automations I Actually Use

    It has been a few months since my last post. Life has been busy, and although I have continued tinkering with things at home, I haven’t had much time to sit down and write about any of it.

    That has at least given me an opportunity to see which of my smart-home automations remain useful after the initial novelty has worn off. I enjoy experimenting with Home Assistant, sensors and networking, but I don’t want to automate something simply because I can. The better automations are the ones I gradually stop noticing.

    My setup is not especially complicated, and it certainly isn’t finished. Some parts run through Home Assistant, others remain in the SwitchBot app, and at least one motion sensor continues to make me question my choice of hardware.

    Arriving home after dark

    One of my more useful automations is also one of the simplest. When either of us arrives home after dark, Home Assistant turns on the entrance light along with the main living-room lights.

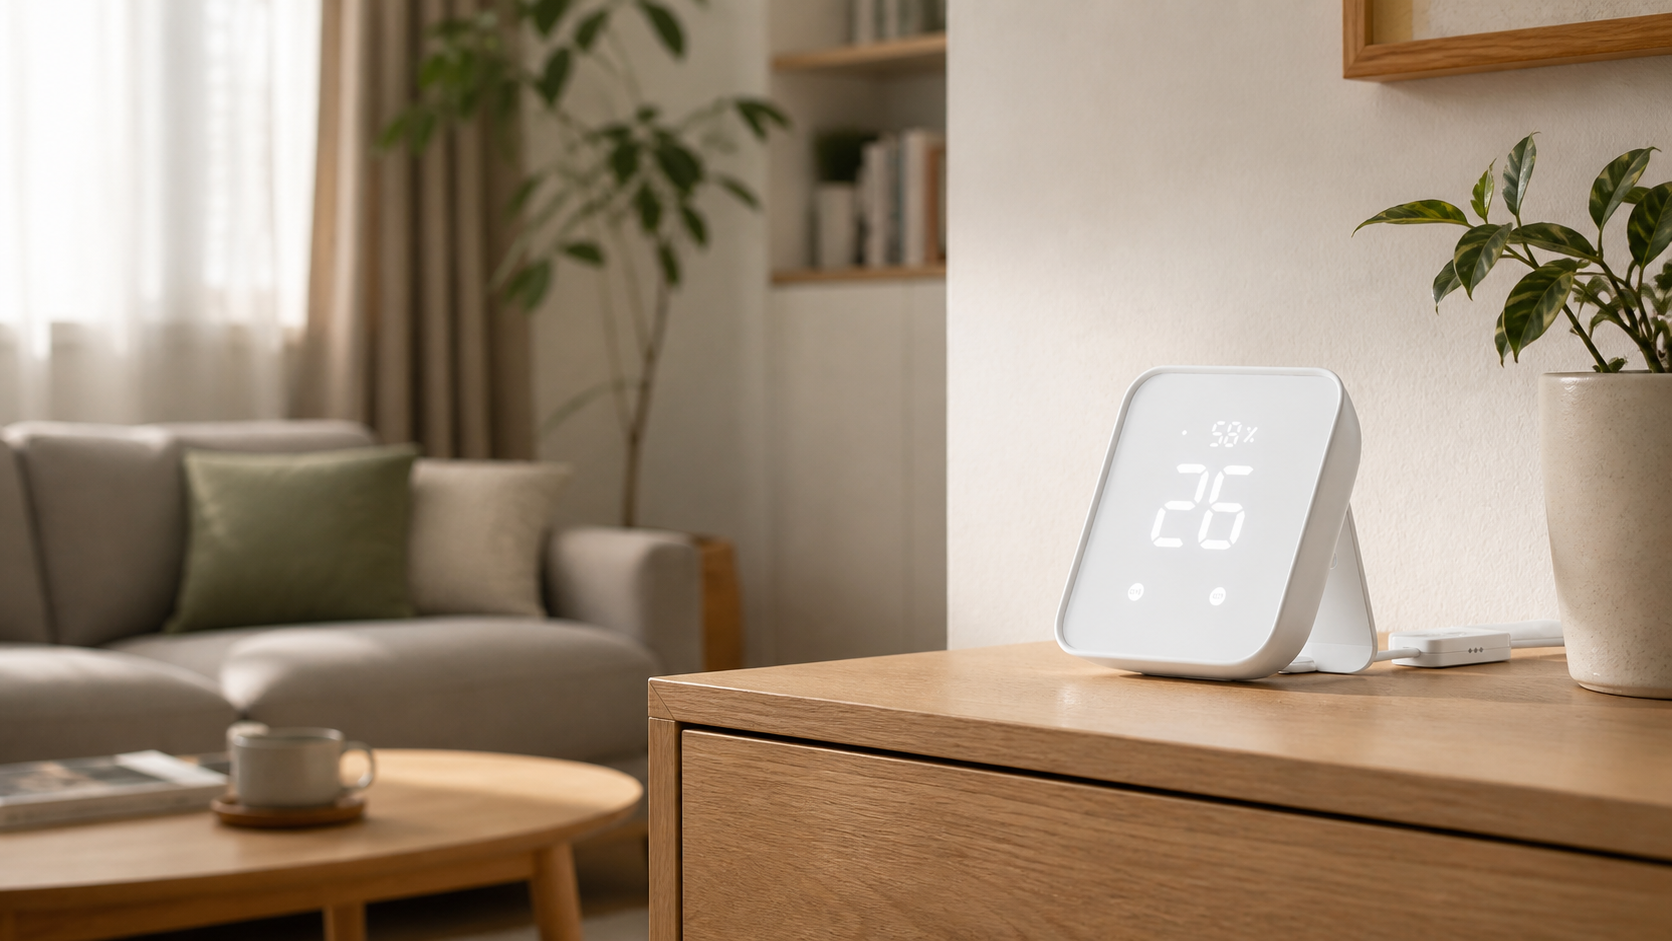
    The automation watches the device trackers for our phones and triggers when either one changes to home. Before switching anything on, it checks the illuminance reading from the SwitchBot Hub 2. If the reading is below 70 lux, the entrance light, living-room light and globe light are switched on.

    The entrance light turns itself off again after five minutes, while the living-room lights remain on. This gives us enough time to get inside and put everything down without leaving the entrance illuminated unnecessarily.

    Home Assistant YAML automation that turns on the entrance and living-room lights when someone arrives home after dark
    Home Assistant checks whether either of us has arrived home and uses the Hub 2’s illuminance reading to decide whether the lights are needed.

    The light level check is important. A time-based condition would be easier, but sunset does not necessarily mean the house is dark. Weather, curtains and the time of year all affect the amount of light inside, so using the actual illuminance reading produces more consistent results.

    There are also a few smaller automations built around the same idea. Lights can switch off after a delay, and presence conditions stop certain routines from running in an empty house. None of these is particularly impressive by itself, but together they remove several small jobs from the day.

    Making geofencing work remotely

    The awkward part of the arrival automation was not controlling the lights. It was making sure Home Assistant could receive reliable location updates while I was away from home.

    Home Assistant is not exposed directly to the internet, and I would prefer to keep it that way. Instead, I use Tailscale to provide a secure connection back to my home network. This allows the Home Assistant companion app on my phone to communicate with the server remotely without requiring me to open ports on the router.

    Once Tailscale was configured correctly, presence detection started working reliably while I was away. It has been largely uneventful since then, which is exactly what I want from the networking underneath an automation.

    There can still be a slight delay before a phone reports that it has entered the home zone, so I would not use this arrangement for anything where a few seconds really matters. For turning on lights as we arrive, however, it has been dependable enough.

    Keeping the living room comfortable

    Summer temperatures here regularly reach the mid-to-high 30s, so keeping the living room comfortable is less of a luxury than it might sound. I normally aim for approximately 27°C with humidity around 60%.

    The SwitchBot Hub 2 already measures and displays the temperature and relative humidity, so I use those readings as part of a climate automation. When motion is detected in the living room, the automation checks that I am at home and that the room is both above 27.5°C and above 60% relative humidity.

    If all of those conditions are met, the air conditioner switches on in its automatic dry mode and the Switchbot circulator starts moving air around the room.

    SwitchBot automation using presence, living-room motion, temperature and humidity to control the air conditioner and circulator
    The SwitchBot automation checks presence, motion, temperature and humidity before switching on the air conditioner and Switchbot circulator.

    This is particularly helpful when I am working from home. The temperature tends to rise gradually, and I often do not notice until the room has already become uncomfortable. The Hub 2 can react before I reach the point of abandoning whatever I am doing to find the remote controls.

    The automation also avoids cooling an empty room. Presence confirms that I am home, while the living-room motion sensor provides a reasonable indication that the room is actually being used. It is not sophisticated room-presence detection, but it is sufficient for this purpose.

    This climate automation currently runs through the SwitchBot app rather than Home Assistant. The Hub 2 can control the air conditioner using infrared, and the Switchbot circulator is available through SwitchBot as well, so Home Assistant would add another layer without providing much benefit.

    I like having everything visible in Home Assistant, but I no longer think every automation has to run there. If a manufacturer’s local setup can perform a straightforward task reliably, I am happy to leave it alone. Home Assistant is most valuable when I need to combine devices and information from different systems.

    The troublesome hall motion sensor

    The hall automation is probably the weakest part of the current setup. Its job is straightforward: detect movement, turn on the hall light when it is needed, and turn it off again after a delay. In practice, the SwitchBot motion sensor was not always reporting movement reliably.

    The Bluetooth signal was the obvious problem. At its worst, the sensor was reporting approximately −99 dBm, which is extremely weak. At that level, missed or delayed updates were not particularly surprising.

    After changing the sensor battery and adjusting the placement, the signal improved to just under −80 dBm. That is a substantial improvement, although both changes happened at roughly the same time, so I cannot say with confidence how much each one contributed.

    The automation is behaving better now, but −80 dBm still leaves room for improvement.Walls, furniture and the position of the sensor relative to the TP-Link Bluetooth adapter all affect reception, and a motion sensor needs to report quickly if it is going to control lighting without becoming irritating.

    This is why I am still considering replacing the SwitchBot motion sensors. They are convenient and work well with the rest of the SwitchBot equipment, but the hall has exposed the limitations of relying on a weak Bluetooth connection. A Zigbee-based sensor, or another device with better local coverage, may eventually be a more dependable choice.

    I am not rushing to replace anything while the existing sensor is working, though. For now, I am monitoring the signal and seeing whether the battery and placement changes continue to make a difference.

    Keeping the setup practical

    The current arrangement is a mixture of different approaches. Home Assistant handles the arrival automation because it needs presence data, illuminance readings and lights from different parts of the system. Tailscale provides remote access without exposing Home Assistant publicly. SwitchBot handles the climate automation because it already has everything required to measure the room and control the appliances.

    That mixture is less tidy than forcing everything into one platform, but it has proven more practical. Centralising a device in Home Assistant is useful when it creates new possibilities. Doing it purely for the satisfaction of having another entity on a dashboard can create more work without making the house any better to live in.

    Reliability matters more to me now than the number of automations I can list. A basic light automation that works every evening is more valuable than an elaborate routine that needs regular attention. The hall sensor has been a useful reminder of that.

    Hardware behind my setup

    As an Amazon Associate I earn from qualifying purchases. Some links below are affiliate links, which help support the site at no additional cost to you.

    The main hardware used across my smart home and Home Assistant setup includes:

    • UGREEN NASync DXP2800 — my two-bay NAS and the machine running Home Assistant in Docker. Read my review here.
    • TP-Link UB500 Bluetooth 5.0 Nano USB Adapter — connected to the UGREEN NASync DXP2800 to give Home Assistant local Bluetooth access to nearby devices.
    • UGREEN US3000 UPS — protects the NAS and Home Assistant installation against sudden power loss.
    • SwitchBot Hub 2 — measures temperature, humidity and illuminance while also controlling the air conditioner.
    • SwitchBot Motion Sensor — used for motion-based lighting and living-room detection.
    • SwitchBot Circulator Fan — automatically circulates cool air when the living-room climate automation runs.
    • Philips Hue Bridge — connects the Philips Hue lighting system to Home Assistant.
    • Philips Hue smart bulbs — used for the entrance and living-room lighting automations.
    • SwitchBot Outdoor Camera — part of my wider smart-home monitoring setup.
    • AAA batteries — useful spares for the SwitchBot motion sensors, particularly when troubleshooting unreliable readings.

    Where I’ve landed

    None of these automations is especially dramatic. Lights come on when we arrive home, the living room cools down when it becomes hot and humid, and the hall light responds when somebody walks past. That is also why they have remained useful.

    For now, I am happy when the lights come on before I reach the switch and the living room starts cooling down without me having to think about it. The hall sensor is behaving better at just under −80 dBm, although I still haven’t ruled out replacing it.

    That is probably the reality of my smart home: it is never completely finished, but it is gradually becoming more useful.
  • How to Design a Reliable Smart Home (Using Datacenter Principles)

    How to Design a Reliable Smart Home (Using Datacenter Principles)

    Most people do not think about infrastructure when building a smart home.

    They buy a few smart bulbs, maybe a camera or two, add a smart speaker, and slowly build up automation over time. Everything works well enough until the day something goes wrong.

    The internet drops. The router crashes. A power outage hits.

    Suddenly the entire smart home stops being smart.

    After working in datacenters for years, I cannot help noticing the difference between how systems are designed at work compared to how most homes are set up. In a datacenter, failure is not a surprise. It is expected. Systems are designed with that in mind from day one.

    At home, the opposite is usually true. Devices are added one by one with very little thought about what happens if something breaks.

    The interesting thing is that you do not need enterprise hardware or complicated setups to borrow some of those design principles. A few small decisions can make a home setup far more reliable.

    Typical smart home vs infrastructure focused smart home network diagram
    A typical smart home often relies on a single router, creating a single point of failure. Adding infrastructure like UPS protection, segmentation, and local automation improves reliability significantly.

    Design With Failure in Mind

    One of the biggest mindset differences between home setups and datacenters is the assumption that things will fail.

    Hard drives fail. Networks crash. Power goes out.

    In a professional environment the question is rarely if something will fail. The real question is what happens when it does. Disks fail, switches reboot, firmware bugs appear, and power drops unexpectedly. Systems are designed so that these events do not bring everything down at once.

    Most homes are not built this way. There is usually a single router handling WiFi, internet access, and often the entire smart home platform. If that device stops working, everything connected to it stops too.

    I experienced this myself early on when my network dropped and suddenly Alexa became completely unresponsive. At the time, almost everything in the house relied on voice control. Without the network, nothing worked.

    There are plenty of other small failures that can cause the same frustration. A router firmware update might reboot unexpectedly. An ISP outage can disconnect cloud services. A failing disk in a NAS can degrade performance long before it completely dies.

    It was a good reminder that smart homes are only as reliable as the infrastructure behind them.

    Since then I have tried to make sure that if something fails, it does not take the entire house down with it.

    Smart home infrastructure stack showing power, network, platform, device and automation layers
    A reliable smart home works like an infrastructure stack. Power and networking support the platforms, devices, and automations above them.

    Protect the Power First

    In a datacenter, power protection is taken extremely seriously. Sudden power loss can damage systems, corrupt data, or bring down services unexpectedly.

    At home, most people plug everything directly into the wall and hope for the best.

    One of the first things I recommend for anyone running a NAS, router, or home server is a UPS (uninterruptible power supply).

    A UPS does two very simple but important things.

    First, it protects equipment from sudden power loss. This prevents things like NAS corruption when drives are actively writing data.

    Second, it gives systems enough time to shut down safely during longer outages.

    In my own setup, the UPS is dedicated to the NAS itself. It is a NAS-specific unit designed to protect the system during outages, allowing it to shut down gracefully rather than losing power abruptly. That has already proven useful in practice. During power cuts, the UPS has kept the NAS running long enough to shut down properly, and when power returns, the NAS powers back up without drama.

    My router is not currently backed up in the same way. If I needed temporary network power during an outage, I do at least have an EcoFlow River Pro 2 available as a fallback, but that is a more manual solution rather than something permanently integrated into the setup.

    If you are curious about the specific unit I use, I covered it in detail in my review of the UGREEN US3000 NAS UPS:

    UGREEN US3000 NAS UPS review

    I also wrote a broader overview of different backup power approaches for smart homes here:

    Smart home power backup solutions

    Backups Should Not Live in the Same House

    Another lesson from working with infrastructure is that backups only matter if they survive disasters.

    A lot of people buy a NAS thinking they are now fully protected. In reality, a NAS alone is not a backup strategy.

    If the NAS fails, gets stolen, or the house experiences fire or flood damage, the data disappears along with it.

    This is why many professional environments follow the 3-2-1 backup rule:

    • 3 copies of your data
    • stored on 2 different types of media
    • with at least 1 copy stored off site

    At home the same logic applies.

    If you are running a NAS at home, this becomes even more important. I run my own storage on a UGREEN NASync system, which I reviewed after two months of real-world use:

    UGREEN NASync DXP2800 review after two months

    In my case I automate off site backups using rclone to send encrypted backups to cloud storage on Azure:

    Automated NAS backups with rclone

    In my case I run backups from my NAS to an external location so that important data exists in more than one physical place. Even if something catastrophic happened to the house, the data would still exist elsewhere.

    Network Segmentation Without Overcomplicating Things

    In datacenters, networks are carefully segmented so different systems do not interfere with each other.

    Most homes run everything on a single flat network.

    Phones, laptops, cameras, smart plugs, TVs, and automation devices are all mixed together. For many homes this works fine, but as the number of devices grows it can start to cause problems.

    One approach borrowed from professional infrastructure is network segmentation. This separates certain devices from the rest of the network so they operate in their own space.

    The good news is that modern routers have started making this easier.

    For example, my current router, the TP-Link Deco BE85, includes a dedicated IoT network designed specifically for smart home devices.

    I covered the router itself in more detail in my full review here:

    TP-Link Deco BE85 review

    Modern routers are also beginning to support newer local first smart home standards. The Deco BE85 can act as a Thread Border Router, allowing Thread based devices to communicate locally without relying on cloud services.

    This fits well with the broader idea of building a resilient smart home infrastructure. If the internet connection drops, devices that communicate locally can continue working rather than becoming completely unresponsive. This allows things like cameras, smart plugs, and sensors to live on their own network while the main network handles laptops, phones, and other personal devices.

    This provides some of the benefits of network segmentation without needing to manually configure VLANs or advanced networking features.

    Monitoring Matters More Than You Think

    In professional infrastructure environments, systems are constantly monitored.

    Disk health is checked. Power status is monitored. Alerts are triggered when something starts to fail.

    At home, problems are often discovered only after something stops working.

    Many NAS systems already include built in monitoring tools that track things like SMART disk data, temperatures, and system health. These systems can send alerts if a drive begins reporting errors or if something starts behaving unexpectedly.

    Catching a failing disk early is far less stressful than discovering the problem after the array degrades or fails.

    Even simple notifications can prevent major data loss.

    Cloud Dependence Is a Hidden Weak Point

    Smart homes often rely heavily on cloud services.

    Voice assistants, device integrations, and automation platforms frequently depend on an active internet connection to function. When the internet goes down, the entire system can suddenly stop responding.

    Since then I have tried to favour systems that can run locally where possible. Platforms like Home Assistant allow smart home devices to continue working even if the internet connection drops.

    I run Home Assistant directly on my NAS, and documented the setup here if you are interested in building a similar local first automation system:

    Installing Home Assistant on a UGREEN NAS

    This reduces reliance on external services and keeps automations functioning even during outages.

    A Simple Smart Home Reliability Checklist

    If you want a quick starting point, a few small decisions can make a surprisingly big difference.

    • Reliable router and stable home network
    • UPS protecting network equipment and NAS
    • Automatic NAS backups
    • Off site backup copy
    • Local automation where possible

    None of these require enterprise hardware, but together they dramatically improve reliability.

    You Do Not Need a Datacenter in Your House

    All of this might sound like over engineering, but the goal is not to turn a home into a miniature datacenter.

    The real takeaway is simply thinking about reliability earlier.

    A reliable router.

    A UPS protecting important devices.

    A backup strategy that survives disasters.

    Those three things alone already make a smart home far more resilient than most.

    Final Thoughts

    Working in datacenters has probably made me overly cautious about infrastructure. When you spend your days thinking about redundancy, monitoring, and failure scenarios, it is hard not to apply that thinking at home as well.

    The funny thing is that once you start thinking this way, it becomes difficult not to apply it everywhere. You start asking small questions most people never consider.

    What happens if the router dies?

    What happens if the internet drops?

    What happens if a drive fails overnight?

    Those questions are exactly what keep datacenters running smoothly. And surprisingly, they work just as well in a normal home.

    The good news is that building a reliable smart home does not require enterprise budgets or complicated setups.

    It mostly comes down to a few sensible design choices and remembering one simple principle.

    Things will eventually break. Planning for that ahead of time makes everything else work far more smoothly.

  • Smart Home Network Setup: 7 Best Practices for Connectivity & Security

    Smart Home Network Setup: 7 Best Practices for Connectivity & Security

    Introduction

    Ever had your smart light take ages to turn on? Or your security camera lose connection at the worst time? A poorly optimized smart home network is the hidden culprit behind these daily frustrations.

    A smart home setup can make life more convenient, energy-efficient, and secure, but only if your network is built to handle the demands of multiple connected devices. A poorly configured network can lead to slow performance, security vulnerabilities, and connectivity issues.

    This guide walks you through how to set up a smart home network, ensuring reliable connectivity, security, and efficiency—without needing expensive upgrades.


    1. Planning Your Smart Home Network

    Before connecting devices, it’s important to assess your network’s capabilities:

    • How many devices will be connected? Smart homes can range from a single device to an entire ecosystem of interconnected gadgets.
    • What are your bandwidth needs? Streaming 4K content or running security cameras requires more bandwidth than smart lights and sensors.
    • Where will devices be placed? Some devices (e.g., outdoor cameras) may struggle with weak Wi-Fi signals.

    Action Steps:
    ✅ Check your router’s device limit and bandwidth capabilities.
    ✅ Consider a separate network for smart devices (more on this below).
    ✅ Identify Wi-Fi dead zones that may need signal improvements.


    2. Smart Home Devices & Network Requirements

    Not all smart devices have the same network needs:

    • Low-bandwidth devices (e.g., smart bulbs, plugs, sensors) work fine on 2.4 GHz Wi-Fi.
    • High-bandwidth devices (e.g., cameras, smart speakers, streaming devices) benefit from 5 GHz or wired connections.
    • Latency-sensitive devices (e.g., video doorbells, smart locks) require strong, stable signals to work instantly.

    Action Steps:
    Use 5 GHz Wi-Fi for devices that need fast data transfer (smart TVs, security cameras).
    Use wired Ethernet for mission-critical devices like home security hubs and smart speakers.
    Place routers or mesh Wi-Fi nodes near bandwidth-heavy devices.

    Comparison of 2.4 GHz and 5 GHz Wi-Fi bands, showing ideal device connections.

    3. Setting Up a Dedicated Smart Home Network

    Many routers allow you to create a separate network just for smart devices. Why?

    • Prevents smart home devices from interfering with personal computers and smartphones.
    • Improves security by isolating smart devices from sensitive data.

    Best Options:

    • Guest Network: If your router has this feature, enable it and connect all smart devices to it.
    • VLAN (for Advanced Users): If your router supports VLANs, you can segment smart home traffic from personal devices.

    Action Steps:
    ✅ Create a separate SSID (Wi-Fi name) for smart home devices.
    Disable remote access for devices that don’t need it.
    ✅ Set up static IPs for key smart home devices (ensures a stable connection).

    A segmented home network with IoT devices isolated from personal devices for security.

    4. Securing Your Smart Home Network

    Since smart home devices are common hacking targets, it’s crucial to secure them properly.

    Key Security Measures:

    • Change Default Passwords – Many smart devices ship with weak, easy-to-guess passwords.
    • Enable WPA3 Encryption – If your router supports WPA3, use it for better security (otherwise, use WPA2).
    • Regularly Update Firmware – Many vulnerabilities come from outdated firmware.
    • Disable Unused Features – Turn off WPS (Wi-Fi Protected Setup) and UPnP (Universal Plug and Play), as they can be security risks.
    • Use Two-Factor Authentication (2FA) – Many smart home platforms offer 2FA for added protection.
    A checklist of essential cybersecurity steps to secure home networks and smart devices.

    Action Steps:
    Rename SSIDs (avoid using your last name or home address).
    Update device passwords to something unique and strong.
    Enable automatic firmware updates for all devices.
    ✅ Set up 2FA for smart home apps (Google Home, Alexa, etc.).


    5. Optimizing Smart Home Performance

    Even with a strong network, smart home devices can sometimes experience lag or disconnections. Here’s how to improve performance:

    • Reduce Wi-Fi Interference – Use router settings to switch to less crowded channels.
    Wi-Fi coverage heatmap before and after optimizing network with an access point.
    • Use Mesh Wi-Fi or Wi-Fi Extenders – For large homes, a mesh system can help eliminate dead zones.
    • Monitor Your Network – Use router admin tools or apps to see which devices are using the most bandwidth.

    Action Steps:
    ✅ Run a Wi-Fi analysis tool (like NetSpot or your router’s app) to find congestion.
    Reposition smart home hubs and routers for better signal strength.
    Limit background bandwidth use on streaming devices during peak hours.


    6. Smart Home Automation & Integration

    Now that your network is optimized for speed and security, let’s explore how to maximize your smart home’s potential with automation.

    Infographic depicting smart home automation routines with geofencing and scheduling.

    Examples of Smart Home Automation:

    • Geofencing: Lights and thermostat adjust when you leave home.
    • Schedules & Routines: Automate lights, blinds, and coffee makers.
    • Voice Commands: Control devices using Google Assistant, Alexa, or Apple HomeKit.
    • Sensor-Based Automation: Motion sensors trigger lights or security cameras.

    Action Steps:
    ✅ Set up routines in Alexa, Google Home, or Apple HomeKit.
    ✅ Enable geofencing for smart lights & thermostats.
    ✅ Experiment with motion-based triggers for security.


    Conclusion: Building a Smart & Secure Home Network

    Your smart home is only as good as the network it runs on. With these steps, you’ll enjoy faster connections, better security, and smoother automation. Ready to take the next step? Stay tuned for my guide on smart home automation!


    📌 Coming Soon: “Intro to NAS & Network Storage: Why You Should Consider It” 🚀