What my setup actually looks like
Here’s the real setup in simple terms. I have an ONU (Optical Network Unit, the device that converts fibre from your ISP into usable internet) feeding into a TP Link BE85 router, with a mesh node in my office for coverage. One thing to be aware of is that mesh nodes can connect back to the main router either wirelessly or via a cable. A wired connection, known as wired backhaul, is more stable, while a wireless one can still introduce the same inconsistency you’re trying to reduce. I’m using fairly high-end gear here, but the same principles apply even if you’re using your ISP’s router.
My NAS (Network Attached Storage, essentially a local server or private cloud running in your home) connects directly to the router and handles most of the heavy lifting. It runs Docker, Home Assistant, and a few custom apps like a recipe app I can access locally. Everything I run is only accessible inside my home network. I’m deliberately not exposing any of this to the internet. Full breakdown of the NAS here: UGREEN NASync DXP2800 Review After 2 Months.
Everything else in the house connects over WiFi, including phones, smart devices, and currently my SwitchBot outdoor cameras. I don’t currently use a switch, but I’m planning to add a PoE (Power over Ethernet, where both power and data are delivered through a single network cable) switch when I upgrade to wired cameras. I also run a separate IoT VLAN so smart devices aren’t on the same network as everything else. That’s the full picture as it stands today.

Where things actually felt off
Nothing in my setup ever completely broke, which made this harder to figure out. Things just felt inconsistent. Home Assistant automations didn’t behave the same way every time. Sometimes a motion sensor would trigger a light instantly, other times there’d be a noticeable delay.
My cameras were similar. Opening the live feed might be instant one time, then take a couple of seconds the next. Even accessing apps on my NAS sometimes felt slower than expected when I was on WiFi. This is where Docker really stood out, because everything I was running locally should have felt instant. If you’re curious what I run, I’ve listed them here: Best Docker Containers for Your NAS.
Individually, none of this is a big issue, but together it makes the whole setup feel unreliable.
What I thought the problem was
At first, I assumed it was performance. Maybe the NAS wasn’t powerful enough, maybe Home Assistant needed tweaking, or maybe the cameras just weren’t great. So I started looking at upgrades. Better hardware, faster gear, new devices. None of that was actually the problem.
What the problem actually was
The issue wasn’t speed, it was consistency. Anything running directly on the NAS was solid. Docker apps loaded properly and Home Assistant itself wasn’t struggling. The inconsistency only showed up when WiFi was involved.
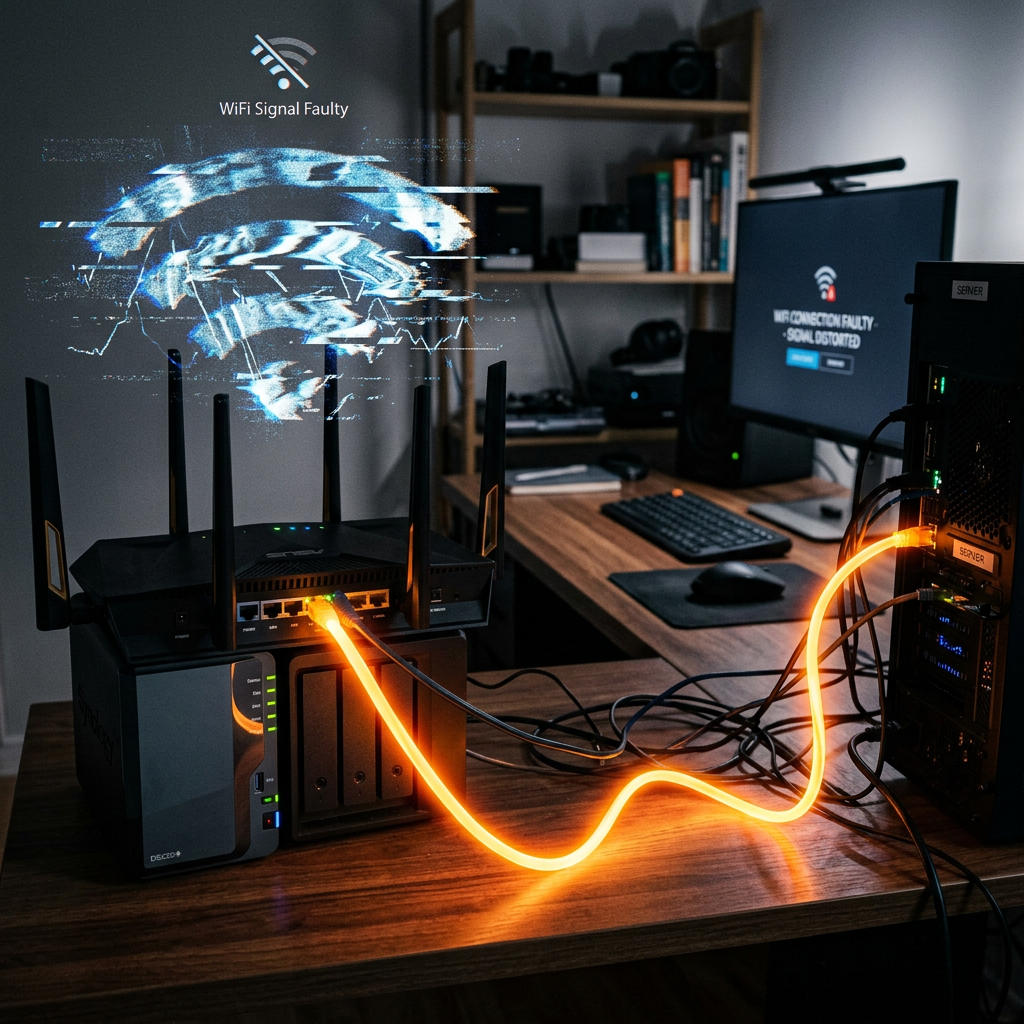
WiFi isn’t bad, but it introduces small variations. Signal strength changes, interference comes and goes, and devices don’t always respond at the same speed. You don’t notice this until something needs to behave the same way every time.
The test that made it obvious
The Unstable Path: Sensor → (weak WiFi) → Router → (WiFi) → NAS
The Stable Path: Sensor → (strong WiFi) → Router → (wired) → NAS
The simplest thing I did was plug my laptop directly into the router using an Ethernet cable. If your laptop doesn’t have an Ethernet port, you’ll need a simple USB to Ethernet adapter for this. I then repeated the same tasks I was doing over WiFi, like opening NAS apps, transferring files, and accessing Docker services.
The difference wasn’t just speed, it was predictability. A file transfer that used to fluctuate suddenly behaved the same way every time, and apps loaded without that occasional hesitation. If plugging in one cable removes the inconsistency, WiFi is the weak point.
What I actually changed (this is the important part)
I didn’t redesign the network, but I did make a few specific changes that improved the “network path”. I made sure the devices that matter always connect to a strong signal by moving the mesh node so the areas I actually use had consistent coverage instead of borderline signal.
I also made sure my NAS was always accessed over the most stable path possible. It was already wired, but I stopped relying on weak WiFi connections to reach it. If I’m doing anything heavy or testing behaviour, I plug in directly.
I reduced how many things were competing on weak connections by spreading devices more evenly across the mesh. Finally, I paid attention to physical placement, since devices behind walls or far from a node will always be less reliable.
None of these changes are dramatic on their own, but together they reduce how many weak links exist between the sensor, router, Home Assistant, and end device. That’s what “improving the network path” actually means.
A real example: Home Assistant
When a motion sensor triggers a light, it isn’t a single action. The sensor detects motion, sends a signal over WiFi to the router, the router passes that to Home Assistant running on the NAS, Home Assistant processes the automation, and then sends a command back over WiFi to the light.
Each wireless step can introduce a small delay. Before, I saw behaviour like this:
- Trigger 1 → ~0.4 seconds
- Trigger 2 → ~1.8 seconds
- Trigger 3 → ~0.6 seconds
- Trigger 4 → ~2 seconds
Nothing was broken, but it felt random. After improving the network conditions, the behaviour became consistent rather than faster:
- Trigger 1 → ~0.7 seconds
- Trigger 2 → ~0.8 seconds
- Trigger 3 → ~0.7 seconds
- Trigger 4 → ~0.9 seconds
The difference is that there are fewer random delays in the chain. The NAS is always instantly reachable because it’s wired, and the WiFi connections are more stable. The system behaves the same way every time, which is what makes it feel reliable.
A real example: cameras
My current setup uses SwitchBot outdoor WiFi cameras. They’re fine for basic use, but you can feel the limitation. Sometimes the feed loads instantly, other times there’s a delay. That delay is the problem, not because it’s slow, but because it’s unpredictable.
That’s why I’m planning to move to a PoE setup. I’m currently looking at this direction: UGREEN SynCare AI Home Security. A wired camera should load instantly and behave the same way every time, without depending on signal strength.
What a switch actually is (and when you need one)
If you’ve never used a switch before, it’s simply a small box that gives you more Ethernet ports. Your router might only have a few, and a switch expands that so you can connect more wired devices. I don’t currently need one, but I will when I move to PoE cameras.
What you should actually do
If your setup feels inconsistent, try this first. Take a device you use regularly, like a laptop, and plug it directly into your router with an Ethernet cable. Then repeat something you normally do, such as opening your NAS, transferring a file, or triggering a Home Assistant automation.
Ask yourself one question: does this feel more consistent? If the answer is yes, you’ve found your issue.
What to change after that
Don’t try to fix everything at once. Identify what feels unreliable, test it on a wired connection, and if it improves, that device or workflow shouldn’t rely on WiFi. Most people jump straight to upgrading hardware, but changing how things are connected usually has a bigger impact.
If you want to copy this setup
You don’t need everything I have. At a minimum, you need your existing router and one wired connection to whatever runs your core system, whether that’s a NAS or a PC. If you run out of ports, a small switch is enough to expand this. From there, focus on what actually feels inconsistent and improve that first.
What the IoT VLAN is actually doing
A VLAN (Virtual Local Area Network) is a way of splitting your home network into separate groups, even though everything uses the same router. Without one, every device sits on the same network. With one, you can separate things.
In my case, I keep smart devices on a separate network from my main devices like my laptop and NAS. This gives me better control, keeps things organised, and slightly improves predictability by reducing unnecessary traffic between devices.
You don’t need a VLAN to fix basic issues, and if your setup is small, you can ignore it for now. Not all routers support it directly, and on many systems it appears as an “IoT Network” or “Guest Network” option instead.
Final thought
Most people try to fix their network by upgrading hardware. In my case, the biggest improvement came from changing how things were connected. If your setup feels inconsistent, start there.