It has been a few months since my last post. Life has been busy, and although I have continued tinkering with things at home, I haven’t had much time to sit down and write about any of it.
That has at least given me an opportunity to see which of my smart-home automations remain useful after the initial novelty has worn off. I enjoy experimenting with Home Assistant, sensors and networking, but I don’t want to automate something simply because I can. The better automations are the ones I gradually stop noticing.
My setup is not especially complicated, and it certainly isn’t finished. Some parts run through Home Assistant, others remain in the SwitchBot app, and at least one motion sensor continues to make me question my choice of hardware.
Arriving home after dark
One of my more useful automations is also one of the simplest. When either of us arrives home after dark, Home Assistant turns on the entrance light along with the main living-room lights.
The automation watches the device trackers for our phones and triggers when either one changes to home. Before switching anything on, it checks the illuminance reading from the SwitchBot Hub 2. If the reading is below 70 lux, the entrance light, living-room light and globe light are switched on.
The entrance light turns itself off again after five minutes, while the living-room lights remain on. This gives us enough time to get inside and put everything down without leaving the entrance illuminated unnecessarily.

The light level check is important. A time-based condition would be easier, but sunset does not necessarily mean the house is dark. Weather, curtains and the time of year all affect the amount of light inside, so using the actual illuminance reading produces more consistent results.
There are also a few smaller automations built around the same idea. Lights can switch off after a delay, and presence conditions stop certain routines from running in an empty house. None of these is particularly impressive by itself, but together they remove several small jobs from the day.
Making geofencing work remotely
The awkward part of the arrival automation was not controlling the lights. It was making sure Home Assistant could receive reliable location updates while I was away from home.
Home Assistant is not exposed directly to the internet, and I would prefer to keep it that way. Instead, I use Tailscale to provide a secure connection back to my home network. This allows the Home Assistant companion app on my phone to communicate with the server remotely without requiring me to open ports on the router.
Once Tailscale was configured correctly, presence detection started working reliably while I was away. It has been largely uneventful since then, which is exactly what I want from the networking underneath an automation.
There can still be a slight delay before a phone reports that it has entered the home zone, so I would not use this arrangement for anything where a few seconds really matters. For turning on lights as we arrive, however, it has been dependable enough.
Keeping the living room comfortable
Summer temperatures here regularly reach the mid-to-high 30s, so keeping the living room comfortable is less of a luxury than it might sound. I normally aim for approximately 27°C with humidity around 60%.
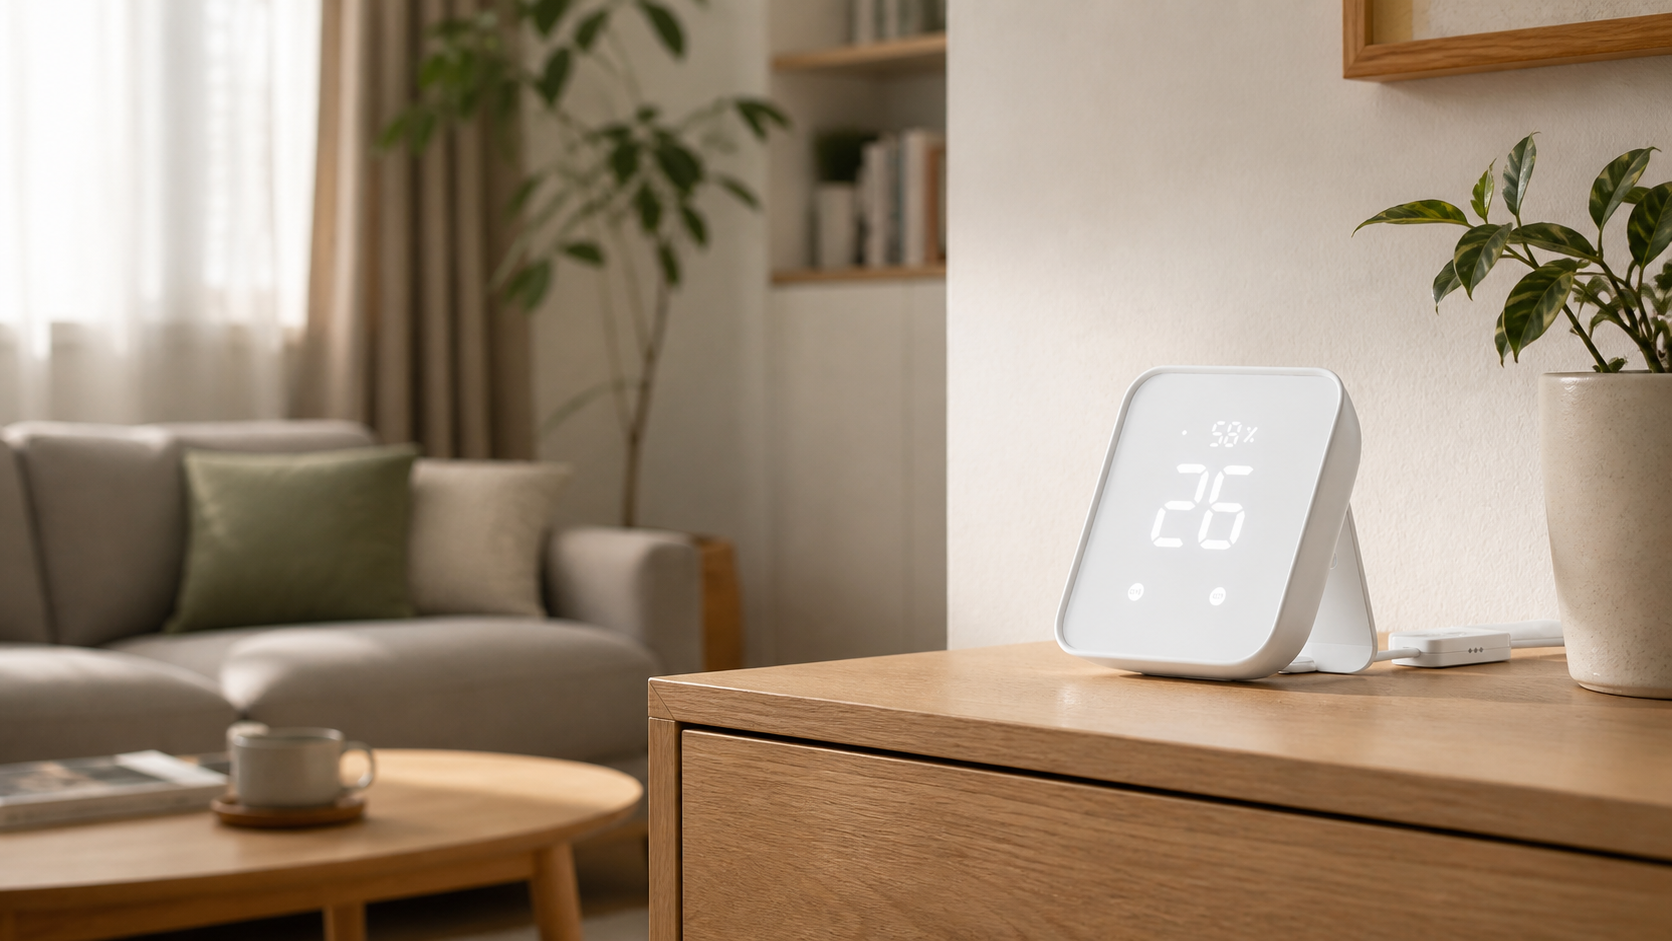
The SwitchBot Hub 2 already measures and displays the temperature and relative humidity, so I use those readings as part of a climate automation. When motion is detected in the living room, the automation checks that I am at home and that the room is both above 27.5°C and above 60% relative humidity.
If all of those conditions are met, the air conditioner switches on in its automatic dry mode and the Switchbot circulator starts moving air around the room.

This is particularly helpful when I am working from home. The temperature tends to rise gradually, and I often do not notice until the room has already become uncomfortable. The Hub 2 can react before I reach the point of abandoning whatever I am doing to find the remote controls.
The automation also avoids cooling an empty room. Presence confirms that I am home, while the living-room motion sensor provides a reasonable indication that the room is actually being used. It is not sophisticated room-presence detection, but it is sufficient for this purpose.
This climate automation currently runs through the SwitchBot app rather than Home Assistant. The Hub 2 can control the air conditioner using infrared, and the Switchbot circulator is available through SwitchBot as well, so Home Assistant would add another layer without providing much benefit.
I like having everything visible in Home Assistant, but I no longer think every automation has to run there. If a manufacturer’s local setup can perform a straightforward task reliably, I am happy to leave it alone. Home Assistant is most valuable when I need to combine devices and information from different systems.
The troublesome hall motion sensor
The hall automation is probably the weakest part of the current setup. Its job is straightforward: detect movement, turn on the hall light when it is needed, and turn it off again after a delay. In practice, the SwitchBot motion sensor was not always reporting movement reliably.
The Bluetooth signal was the obvious problem. At its worst, the sensor was reporting approximately −99 dBm, which is extremely weak. At that level, missed or delayed updates were not particularly surprising.
After changing the sensor battery and adjusting the placement, the signal improved to just under −80 dBm. That is a substantial improvement, although both changes happened at roughly the same time, so I cannot say with confidence how much each one contributed.
The automation is behaving better now, but −80 dBm still leaves room for improvement.Walls, furniture and the position of the sensor relative to the TP-Link Bluetooth adapter all affect reception, and a motion sensor needs to report quickly if it is going to control lighting without becoming irritating.
This is why I am still considering replacing the SwitchBot motion sensors. They are convenient and work well with the rest of the SwitchBot equipment, but the hall has exposed the limitations of relying on a weak Bluetooth connection. A Zigbee-based sensor, or another device with better local coverage, may eventually be a more dependable choice.
I am not rushing to replace anything while the existing sensor is working, though. For now, I am monitoring the signal and seeing whether the battery and placement changes continue to make a difference.
Keeping the setup practical
The current arrangement is a mixture of different approaches. Home Assistant handles the arrival automation because it needs presence data, illuminance readings and lights from different parts of the system. Tailscale provides remote access without exposing Home Assistant publicly. SwitchBot handles the climate automation because it already has everything required to measure the room and control the appliances.
That mixture is less tidy than forcing everything into one platform, but it has proven more practical. Centralising a device in Home Assistant is useful when it creates new possibilities. Doing it purely for the satisfaction of having another entity on a dashboard can create more work without making the house any better to live in.
Reliability matters more to me now than the number of automations I can list. A basic light automation that works every evening is more valuable than an elaborate routine that needs regular attention. The hall sensor has been a useful reminder of that.
Hardware behind my setup
As an Amazon Associate I earn from qualifying purchases. Some links below are affiliate links, which help support the site at no additional cost to you.
The main hardware used across my smart home and Home Assistant setup includes:
- UGREEN NASync DXP2800 — my two-bay NAS and the machine running Home Assistant in Docker. Read my review here.
- TP-Link UB500 Bluetooth 5.0 Nano USB Adapter — connected to the UGREEN NASync DXP2800 to give Home Assistant local Bluetooth access to nearby devices.
- UGREEN US3000 UPS — protects the NAS and Home Assistant installation against sudden power loss.
- SwitchBot Hub 2 — measures temperature, humidity and illuminance while also controlling the air conditioner.
- SwitchBot Motion Sensor — used for motion-based lighting and living-room detection.
- SwitchBot Circulator Fan — automatically circulates cool air when the living-room climate automation runs.
- Philips Hue Bridge — connects the Philips Hue lighting system to Home Assistant.
- Philips Hue smart bulbs — used for the entrance and living-room lighting automations.
- SwitchBot Outdoor Camera — part of my wider smart-home monitoring setup.
- AAA batteries — useful spares for the SwitchBot motion sensors, particularly when troubleshooting unreliable readings.
Where I’ve landed
None of these automations is especially dramatic. Lights come on when we arrive home, the living room cools down when it becomes hot and humid, and the hall light responds when somebody walks past. That is also why they have remained useful.
For now, I am happy when the lights come on before I reach the switch and the living room starts cooling down without me having to think about it. The hall sensor is behaving better at just under −80 dBm, although I still haven’t ruled out replacing it.
That is probably the reality of my smart home: it is never completely finished, but it is gradually becoming more useful.