One of the biggest things I wanted after setting up Home Assistant was reliable remote access.
At first, I assumed this would be simple. Install Home Assistant, install the mobile app, sign in remotely somehow, and that would be the end of it.
The deeper I got into self hosting though, the more I realised remote access is one of those areas where things become complicated surprisingly quickly. Every guide seemed to recommend something different, from opening ports on the router to setting up reverse proxies, SSL certificates, Cloudflare tunnels and domain names.
None of those things are inherently bad, but when you are still building your understanding it becomes difficult to know what is actually necessary and what is just adding complexity.
There was another factor as well: subscriptions. I completely understand why Home Assistant Cloud exists and for many people it is probably the right solution. But like a lot of people these days, it feels as though everything wants a monthly fee.
I was not trying to avoid spending money entirely. I just wanted to see if I could achieve reliable and secure remote access using the hardware and software I already had, without exposing Home Assistant directly to the internet while I was still figuring things out.
That is what led me to Tailscale. It gave me a way to get remote access working without turning it into a much bigger networking project.
My setup
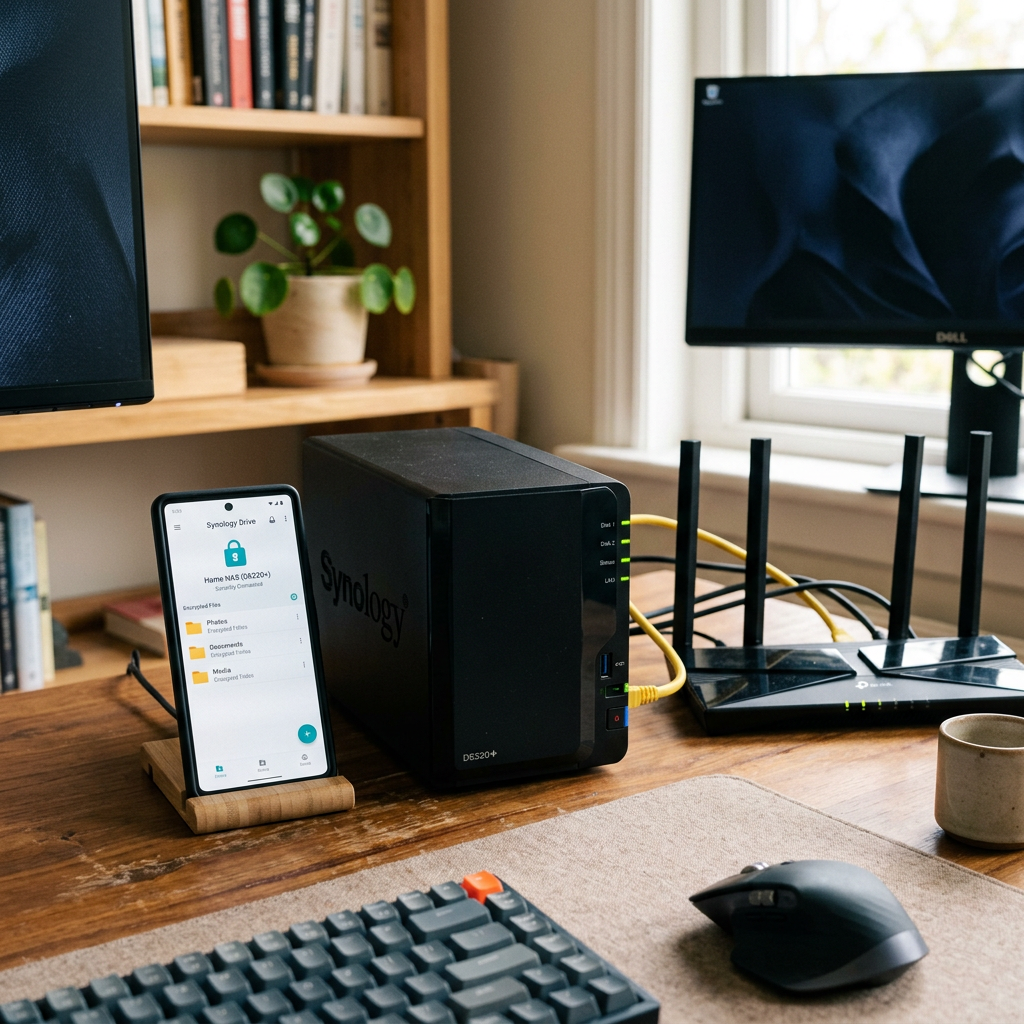
For reference, this is the setup I am currently running.
The NAS itself is a UGREEN NASync DXP2800 running Docker containers for both Home Assistant and Tailscale. If you’re interested in the hardware itself, I covered my experience in my UGREEN NASync DXP2800 Review After 2 Months.
There is no port forwarding, no reverse proxy, no public Home Assistant exposure, and no Home Assistant Cloud subscription.
That probably sounds restrictive at first, especially if you spend enough time reading forums where people are building very advanced setups. But honestly, that was exactly the point.
Despite working in IT, I did not want this to become a project that required constant maintenance. I wanted something that was secure, made sense, and just worked day to day without needing to be constantly revisited.
Just because a solution is more advanced does not automatically make it better for your situation. For me, the goal was not to build the most complex setup possible. It was to build one that was secure, reliable, and easy to live with long term.
That is what pushed me towards Tailscale.
Why I chose Tailscale
The biggest reason was simplicity, not because the alternatives were beyond me, but because I was trying to solve a specific problem rather than build a networking project.
There are plenty of ways to provide remote access to Home Assistant. You can use reverse proxies, SSL certificates, Cloudflare tunnels, domain names, port forwarding and various other combinations depending on how much control you want.
The problem is that every additional layer becomes something else to configure, secure and maintain.
For some people that is part of the hobby, and there is nothing wrong with that. For me, the goal was simply to access Home Assistant securely when I was away from home.
Tailscale felt like a very clean solution to that problem. Instead of exposing Home Assistant publicly and then protecting it afterwards, it creates a private encrypted network between devices you already trust.
In practice, that meant my phone could communicate directly with my NAS without Home Assistant ever being exposed to the public internet.
That shift in approach made everything much easier to reason about. I was not publishing a service and securing it, I was extending a private network.
For a home setup, that balance between simplicity, security and reliability was hard to ignore.
The benefit I was not expecting
When I first started looking at remote access, I was focused almost entirely on Home Assistant. The goal was simply to be able to open dashboards and make sure automations worked when I was away from home.
What I did not really think about at the time was that I was solving a much bigger problem.
Once Tailscale was working, Home Assistant was only one of the things I could access remotely. I also had other services running on my NAS, including my Recipe App and Home Dashboard. Several of these are applications I discussed in my Docker Containers I Still Use One Year Later article, and Tailscale effectively gave me secure remote access to all of them at the same time.
That was the point where it clicked. Tailscale stopped feeling like a Home Assistant tool and started feeling like part of the underlying infrastructure of my home network. The more services I added locally, the more useful it became.
The Home Assistant benefits were still significant. Presence detection became more reliable, location updates worked more consistently, and geofenced automations behaved the way I expected them to.
But the bigger takeaway was that I only needed to solve remote access once. Every service I run now, and anything I add in the future, can use the same setup.
Before you start
This guide assumes you already have Home Assistant running and accessible on your local network.
If you are starting from scratch, make sure you can access Home Assistant locally first, for example:
http://192.168.x.x:8123
Do not move on until this works reliably. Otherwise you end up troubleshooting multiple things at once.
Checking Home Assistant locally
Before adding Tailscale, confirm Home Assistant is actually listening on port 8123.
sudo ss -tulpn | grep 8123
You should see Home Assistant (usually as python3) listening on that port. If not, fix that first.
Installing Tailscale in Docker

Install Tailscale as a Docker container on your NAS.
docker pull tailscale/tailscale:latest
docker run -d \ --name=tailscale \ --hostname=nas \ --network=host \ --cap-add=NET_ADMIN \ --cap-add=NET_RAW \ -v tailscale-data:/var/lib \ tailscale/tailscale:latest
Check the logs to get the authentication link:
docker logs tailscale
Open the URL shown, sign in, and approve the device.
Make sure to click this link right away, as Tailscale login URLs expire after a few minutes. If it has expired, simply restart the container or re-check the logs to generate a new one.
Note: In this example, Tailscale stores its configuration in a Docker named volume called tailscale-data. If you prefer to keep your container data in a specific folder for easier backups or management, you can replace the named volume with a local path that suits your environment.
For example:
-v /path/to/tailscale-data:/var/lib
The exact location will depend on your operating system, NAS, or Docker setup.
Verify the connection:
docker exec -it tailscale tailscale status
Setting up Tailscale on your phone

Installing Tailscale on the NAS is only half of the setup. You also need it running on the device you actually want to connect from, which in my case is my iPhone.
Download the Tailscale app from the App Store and sign in using the same account you used to authenticate the NAS. Once signed in, your phone will appear in your Tailscale admin console alongside your NAS.
At that point, your phone is part of the same private network. Your phone is no longer “connecting into” your home network, it is effectively part of it.
One useful thing is that the Tailscale app shows all connected devices and their assigned IP addresses. That means you can quickly check your NAS Tailscale IP directly from your phone without needing to SSH in.
This is useful when setting things up or troubleshooting because you can confirm:
- your NAS is online
- your phone is connected to the tailnet
- the correct Tailscale IP is being used
Finding the Tailscale IP
Get the Tailscale IP:
docker exec -it tailscale tailscale ip -4
You will get something like:
100.x.x.x
Use that to access Home Assistant remotely:
http://100.x.x.x:8123
This uses HTTP, not HTTPS. Tailscale already encrypts the connection, so forcing HTTPS here will break things.
Configuring the Home Assistant Companion App

In the Home Assistant Companion App, you need to set the Internal URL and External URL.
On iPhone, open the app and go to:
Settings → Companion App → Server Settings
(If you have multiple servers configured, tap your server first, then open Server Settings.)
Use your local IP for Internal URL:
http://192.168.x.x:8123
Use your Tailscale IP for External URL:
http://100.x.x.x:8123
Both should use HTTP. Tailscale already encrypts the connection, so you do not need HTTPS here.
Once set, back out of the menu and give the app a few seconds to reconnect. If everything is correct, it should connect both on WiFi and over Tailscale without any errors.
VPN On Demand on iPhone
One thing I highly recommend enabling is VPN On Demand inside the Tailscale app.
Enable it for both WiFi and cellular so the connection is automatic. That way you do not need to remember to manually connect before opening Home Assistant.
This makes the whole setup feel much more seamless day to day and also improves reliability for things like presence detection and geofenced automations because your phone maintains a consistent connection back to Home Assistant.
The issue that caused the most confusion
The biggest problem I hit was not Home Assistant. It was Tailscale Serve taking over port 8123.
sudo ss -tulpn | grep 8123
If you do not see Home Assistant on that port, something else has taken it.
Fix it with:
tailscale serve reset
Hardware I Use
Before I wrap up, a quick note: some of the links below are Amazon affiliate links. If you choose to purchase through them, I may earn a small commission at no additional cost to you. I only recommend products I personally use or have hands-on experience with.
The software in this guide is free, but if you’re curious about the hardware behind my setup, this is what I currently use:
- UGREEN NASync DXP2800
- WD Red Plus NAS drives
- WD Blue SN5000 NVMe SSDs for Docker applications
- SwitchBot Hub 2
- SwitchBot motion sensors
I’ve been using this setup for Home Assistant, Docker containers, remote access through Tailscale, and various self-hosted projects. If you’re building something similar, these are the components I have the most hands-on experience with.
Final thoughts
Tailscale ended up being one of the most useful additions to my setup, not because it was flashy, but because it removed friction.
Once it was configured, I stopped thinking about remote access entirely. Combined with a stable home network, which I discussed in What Actually Happens on Your Network (Why WiFi Feels Inconsistent), it became one of those rare pieces of infrastructure that simply fades into the background and does its job.
There are more advanced ways to achieve the same result, and for some setups they will make sense. But for me, this struck the right balance. It solved the problem I actually had without introducing more moving parts to maintain.
Looking back, that was the biggest win. Not just remote access, but a simple foundation I can keep building on without having to rethink it every time I add something new.