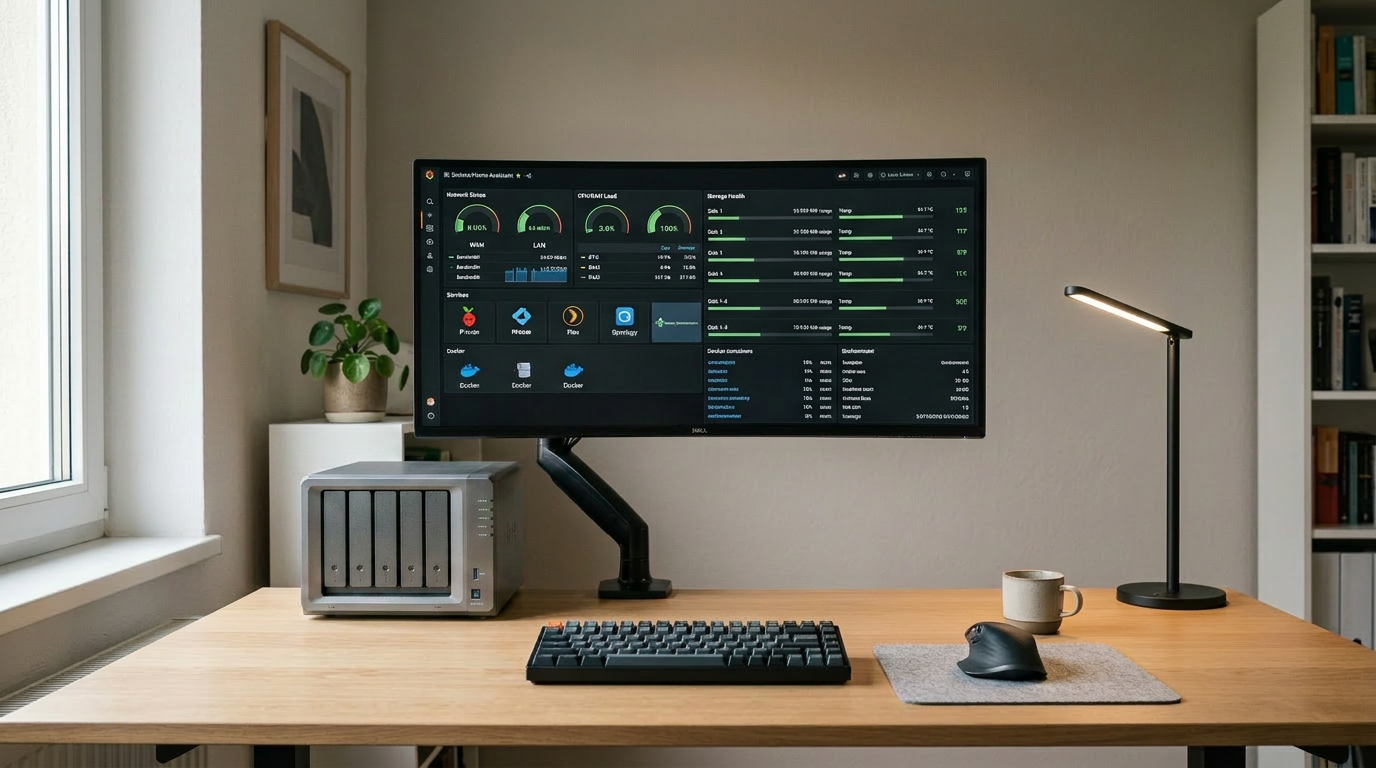
A year ago I wrote about the best Docker containers to run on a NAS. At the time, I was still in the “this is exciting, what else can I install?” phase. That phase is useful, and honestly it is part of the fun, but it is not the same as living with these containers day after day.
After a year, my view has changed quite a bit. I no longer think the best Docker containers are always the most impressive ones. The best ones are the ones that keep solving a real problem without creating new ones.
That sounds obvious, but it’s very easy to forget when you first set up a NAS. You start with storage, then Docker appears, then suddenly you are looking at dashboards, monitoring tools, media servers, smart home platforms, DNS blockers, download managers, and random utilities you did not even know existed two weeks earlier.
This post is not another “install these 20 containers” list. I already wrote that kind of post n my earlier post on the best Docker containers for a NAS. This is the follow-up I wish more people wrote: what I actually kept, what I removed, what I still want to revisit, and what I would tell someone setting up Docker on a NAS for the first time.
How Docker changed how I use my NAS
When I bought my NAS, I mostly thought of it as storage. I wanted somewhere for backups, files, photos, and maybe some media. That’s still important, but Docker changed the role of the NAS completely.
Instead of being a box that only stores files, it became a small home server. It could run Home Assistant for smart home automation, local apps that only I use, monitoring tools, and services that sit quietly in the background until I need them.
That’s the part that’s hard to appreciate until you try it. A NAS with Docker is not just “storage plus apps”. It becomes infrastructure for your home. It can run things locally, keep data inside your own network, and remove some dependence on cloud services.
But there is a catch. Every container you install has a cost. Not always a money cost, but a maintenance cost. It might use CPU, RAM, storage, network access, database writes, logs, or background activity. It might wake your HDDs when you expected the NAS to stay quiet. It might need updates. It might break. It might make your setup more complicated than it needs to be.
That’s the lesson I learned over the last year. Docker is powerful, but it is also easy to overdo.
My current rule: install for a problem, not for curiosity
The biggest change in my thinking is that I no longer install containers just because they sound useful. I still like experimenting, but I now separate “interesting” from “actually worth running all the time”.
A good container should do at least one of these things:
- fix a genuine day-to-day annoyance
- replace a cloud service I do not want to depend on
- make the NAS more useful day to day
- run quietly without constant maintenance
- justify the resources it uses
If it does not meet one of those, I probably do not need it running permanently.
That does not mean you should never experiment. Experimenting is how you learn. But there is a difference between testing a container for a weekend and letting it become part of your permanent setup.
Home Assistant: the one that genuinely changed my setup
Home Assistant is the container that made the biggest difference for me.

At first, I used it for simple automations. Motion sensors turning on lights, basic routines, and small quality-of-life improvements. Nothing too advanced. But even those simple automations changed how the house felt.
The important thing I learned is that Home Assistant is only as good as the reliability of the devices and network around it. If a motion sensor is slow to report, or a light takes a second too long to respond, the automation feels bad even if Home Assistant itself is working perfectly.
That was a big shift in how I thought about it. When something was delayed, my first instinct was to blame the automation or the container. In reality, the issue was often the communication path. Sensor to router, router to Home Assistant, Home Assistant back to the device. Every wireless step can add a little inconsistency.
Once I improved my network setup, Home Assistant became much more dependable. A lot of that came down to reducing weak wireless paths and removing inconsistent connections between devices, which I covered in more detail in my post about WiFi vs wired consistency for smart home setups.
That is why Home Assistant is one of the first things I would recommend if someone is interested in smart home control, but I would also warn them not to judge it too quickly. If it feels inconsistent, check the network and devices before assuming Home Assistant is bad.
Who should install Home Assistant?
Install Home Assistant if you have more than a couple of smart home devices and want them to work together instead of living in separate apps.
It is especially useful if you have devices from different brands and want one central place for automations. For example, you might have SwitchBot devices, smart lights, sensors, and other equipment that all work fine individually but become much more useful when linked together.
Who should skip it for now?
If you only have one or two smart devices and are happy using the manufacturer apps, Home Assistant may be overkill. It is powerful, but it also rewards patience. You will probably spend time tweaking, testing, and learning how your devices actually behave.
For me, it is worth it. But it is not a “set it and forget it in ten minutes” container.
One thing I have added since then is Tailscale so I can securely access Home Assistant remotely without exposing my network directly to the internet. That alone completely changed how useful the setup feels day to day, especially when checking automations or devices while away from home. It also lets me use geofenced automations remotely without needing to pay for Home Assistant Cloud, which was a nice bonus. I will probably do a separate post on that because remote access is one of those areas where it is very easy to do the wrong thing if you are new to self hosting.
Uptime Kuma: useful, but not essential for my setup
Uptime Kuma is one of those containers that feels brilliant when you first install it. It gives you a clean dashboard showing whether your services are online, and it can notify you when something goes down.
If you run a lot of services, it makes sense. If you host things for other people, it makes even more sense. It is also great if you are learning because it helps you understand what is actually running on your network.
I liked it. I really did.
The problem is that I eventually removed it because one of my monitoring containers seemed to be keeping my HDDs active. I am not saying Uptime Kuma is bad or that everyone will have that problem, but in my setup, I started caring more about disk activity, noise, and letting the NAS sit quietly when idle.
That is something beginners often overlook. A monitoring tool is useful, but it also has to monitor things constantly. Depending on how it is configured, where its data is stored, and how often it checks services, it may create background activity you did not expect.
Would I still recommend Uptime Kuma?
Yes, but with context.
If you are running several containers and want a simple way to see whether they are online, Uptime Kuma is excellent. It is one of the easiest monitoring tools to understand, and the interface is beginner friendly.
But if your NAS is mainly for storage and you care about keeping HDD activity low, I would treat it as optional rather than essential. Install it, test it, and pay attention to whether your disks stay active more than expected.
A good container can still be the wrong fit for your priorities.
Portracker: helpful for learning, but I did not keep it
Portracker was another container I liked because it helped me understand what was happening with my ports and services. When you are new to Docker, it is easy to lose track of what is exposed, what is mapped, and what is actually reachable on your network.
That kind of visibility is useful. It gives you a better mental picture of your setup.
But like Uptime Kuma, I eventually removed it. Again, the issue was not that it was bad. It was that my setup had changed. I no longer needed constant visibility enough to justify keeping every monitoring-style tool running.
This is probably one of the biggest lessons from using Docker long term: some containers are great teachers, but not permanent residents.
Portracker helped me learn. Once I understood my setup better, I did not need it running all the time.
The DNS blockers: my unfinished business
Pi-hole is the container I wanted to love, but I never got it working the way I wanted.
To be clear, the problem was not that I could not start the container. The problem was that I could not get my network traffic to actually route through Pi-hole properly. In other words, Pi-hole may be running, but if your devices are not using it for DNS, it is not doing anything useful.
That distinction is important for beginners.
Installing the container is only step one. The real work is making sure your router, DHCP settings, DNS settings, and devices are actually pointing at it. If they are not, you can stare at a perfectly healthy Pi-hole dashboard while your network completely ignores it.
That was my issue.
At the time, I probably did not understand my network well enough to troubleshoot it properly. Since then, I have learned more about VLANs, mesh behaviour, DNS routing, and how devices actually communicate across the network. Because of that, I actually want to give Pi-hole another proper attempt.
The appeal is obvious. Network-wide ad blocking, cleaner DNS control, and better visibility into what devices are requesting. For people who like understanding their network, Pi-hole is still one of the classic self-hosted tools.
But I would not describe it as “install and done” for everyone.
If your router makes it easy to set a custom DNS server, Pi-hole can be straightforward. If your router hides those settings, uses its own DNS behaviour, has awkward mesh or IoT network handling, or if your devices bypass local DNS, it can become frustrating quickly.
That does not mean Pi-hole is bad. It means DNS is one of those areas where the container is only half the story.
I also experimented with AdGuard Home briefly because I liked the cleaner interface and overall approach, but I never spent enough time with it to make a fair comparison. Right now, both of them sit in the category of “containers I still want to figure out properly” rather than containers I can fully recommend from long-term experience.
That will probably become a future post by itself.
My self-hosted recipe app: the thing that changed my mindset
The most unexpected part of running Docker on my NAS was not installing someone else’s container. It was eventually hosting something I built myself.
I created a local recipe app so I can store recipes in a way that works for me. It runs on my NAS and is available on my local network. It is not a huge commercial-style project, and that is exactly the point.
It solved a specific problem I had.
That changed how I looked at the NAS. It was no longer just a device for storage or prebuilt apps. It became a place where I could run my own tools.

This is one of the most underrated parts of Docker. You are not limited to whatever your NAS app store provides. If you can build or find a small web app, you can often run it yourself.
Why this matters for beginners
You do not need to be a professional developer to appreciate this idea. Even if you never build your own app, understanding that your NAS can host local tools changes how you think about it.
Maybe it is a recipe app. Maybe it is a dashboard. Maybe it is a small tool for your household. The point is that Docker turns the NAS into something flexible.
That is when the NAS stops feeling like “a hard drive on the network” and starts feeling like a small home platform.
What I learned about NVMe and Docker
Another thing I understand better now is where fast storage actually matters. I also touched on some of this in my UGREEN NASync DXP2800 review because Docker workloads changed how I approached storage much more than I originally expected.
For bulk storage, HDDs still make the most sense. They are cheaper per TB and ideal for backups, media, archives, and general file storage.
For apps and containers, NVMe can make the system feel more responsive. Containers often involve lots of small reads and writes, databases, thumbnails, logs, configuration files, and web interfaces. Those are the kinds of workloads where SSDs feel much better than HDDs.
That does not mean everyone needs NVMe on day one. If you are building your first NAS, I would still prioritise enough HDD capacity first, especially if your main goal is storage.
But if you plan to run Docker seriously, NVMe is worth considering. Not necessarily massive drives, but enough fast storage for apps, containers, and potentially cache.
The key is not “NVMe is better than HDD”. The key is using each type of storage for the job it suits best.
What I would install first today
If I was setting up Docker on a NAS again from scratch, I would not install ten containers immediately.
I would start with one container that solves a real problem, then build from there.
For me, the first serious install would still be Home Assistant because it has had the biggest day-to-day impact. After that, I would consider a monitoring tool like Uptime Kuma, but I would pay close attention to whether it increases disk activity. Then I would revisit Pi-hole carefully, making sure the DNS routing side is actually working before judging the container itself.
I would not install things just because they appear on every “best Docker containers” list.
That is how you end up with a busy NAS, a dozen dashboards, and very little that actually improves your life.
What I would avoid as a beginner
The biggest mistake is installing too much too quickly.
Every container adds another thing to understand. Where does it store data? Does it need a database? Does it expose a port? Does it need internet access? Does it write logs constantly? Does it wake the drives? How do you back it up? How do you update it?
None of that means Docker is bad. It just means containers are not free from responsibility.
I would also avoid exposing anything to the internet until you understand what you are doing. Running an app locally on your home network is one thing. Opening ports so you can access it from anywhere is completely different.
For most beginners, local-only is the right starting point.
What I still think Docker is best for
After a year, I think Docker is best for three things on a home NAS.
First, smart home control. Home Assistant is the obvious example here.
Second, useful local services. This could be a monitoring tool, a DNS tool, or a small personal app.
Third, learning. Docker teaches you a lot about networking, storage, ports, backups, persistence, and how services actually run.
That learning curve can be frustrating, but it is also what makes the NAS more valuable over time.
Final thoughts
A year ago, I mostly thought Docker was a way to add cool features to my NAS.
Now I think it is more about choosing what deserves to run permanently in your home.
Some containers stayed because they genuinely improved my setup. Some were removed because they added more background activity than value. Others, like Pi-hole, are still on my revisit list because I know the idea is useful even if my first attempt did not work.
That is the honest version of Docker on a NAS. It is powerful, flexible, and genuinely useful, but it is not about installing everything.
It is about building a setup that solves real problems without creating too many new ones.
Leave a Reply