Tag: Home Lab

  • How to Access Home Assistant Remotely with Tailscale on a NAS (No Port Forwarding Required)

    How to Access Home Assistant Remotely with Tailscale on a NAS (No Port Forwarding Required)

    One of the biggest things I wanted after setting up Home Assistant was reliable remote access.

    At first, I assumed this would be simple. Install Home Assistant, install the mobile app, sign in remotely somehow, and that would be the end of it.

    The deeper I got into self hosting though, the more I realised remote access is one of those areas where things become complicated surprisingly quickly. Every guide seemed to recommend something different, from opening ports on the router to setting up reverse proxies, SSL certificates, Cloudflare tunnels and domain names.

    None of those things are inherently bad, but when you are still building your understanding it becomes difficult to know what is actually necessary and what is just adding complexity.

    There was another factor as well: subscriptions. I completely understand why Home Assistant Cloud exists and for many people it is probably the right solution. But like a lot of people these days, it feels as though everything wants a monthly fee.

    I was not trying to avoid spending money entirely. I just wanted to see if I could achieve reliable and secure remote access using the hardware and software I already had, without exposing Home Assistant directly to the internet while I was still figuring things out.

    That is what led me to Tailscale. It gave me a way to get remote access working without turning it into a much bigger networking project.

    My setup

    For reference, this is the setup I am currently running.

    The NAS itself is a UGREEN NASync DXP2800 running Docker containers for both Home Assistant and Tailscale. If you’re interested in the hardware itself, I covered my experience in my  UGREEN NASync DXP2800 Review After 2 Months.

    There is no port forwarding, no reverse proxy, no public Home Assistant exposure, and no Home Assistant Cloud subscription.

    That probably sounds restrictive at first, especially if you spend enough time reading forums where people are building very advanced setups. But honestly, that was exactly the point.

    Despite working in IT, I did not want this to become a project that required constant maintenance. I wanted something that was secure, made sense, and just worked day to day without needing to be constantly revisited.

    Just because a solution is more advanced does not automatically make it better for your situation. For me, the goal was not to build the most complex setup possible. It was to build one that was secure, reliable, and easy to live with long term.

    That is what pushed me towards Tailscale.

    Why I chose Tailscale

    The biggest reason was simplicity, not because the alternatives were beyond me, but because I was trying to solve a specific problem rather than build a networking project.

    There are plenty of ways to provide remote access to Home Assistant. You can use reverse proxies, SSL certificates, Cloudflare tunnels, domain names, port forwarding and various other combinations depending on how much control you want.

    The problem is that every additional layer becomes something else to configure, secure and maintain.

    For some people that is part of the hobby, and there is nothing wrong with that. For me, the goal was simply to access Home Assistant securely when I was away from home.

    Tailscale felt like a very clean solution to that problem. Instead of exposing Home Assistant publicly and then protecting it afterwards, it creates a private encrypted network between devices you already trust.

    In practice, that meant my phone could communicate directly with my NAS without Home Assistant ever being exposed to the public internet.

    That shift in approach made everything much easier to reason about. I was not publishing a service and securing it, I was extending a private network.

    For a home setup, that balance between simplicity, security and reliability was hard to ignore.

    The benefit I was not expecting

    When I first started looking at remote access, I was focused almost entirely on Home Assistant. The goal was simply to be able to open dashboards and make sure automations worked when I was away from home.

    What I did not really think about at the time was that I was solving a much bigger problem.

    Once Tailscale was working, Home Assistant was only one of the things I could access remotely. I also had other services running on my NAS, including my Recipe App and Home Dashboard. Several of these are applications I discussed in my  Docker Containers I Still Use One Year Later article, and Tailscale effectively gave me secure remote access to all of them at the same time.

    That was the point where it clicked. Tailscale stopped feeling like a Home Assistant tool and started feeling like part of the underlying infrastructure of my home network. The more services I added locally, the more useful it became.

    The Home Assistant benefits were still significant. Presence detection became more reliable, location updates worked more consistently, and geofenced automations behaved the way I expected them to.

    But the bigger takeaway was that I only needed to solve remote access once. Every service I run now, and anything I add in the future, can use the same setup.

    Before you start

    This guide assumes you already have Home Assistant running and accessible on your local network.

    If you are starting from scratch, make sure you can access Home Assistant locally first, for example:

    http://192.168.x.x:8123

    Do not move on until this works reliably. Otherwise you end up troubleshooting multiple things at once.

    Checking Home Assistant locally

    Before adding Tailscale, confirm Home Assistant is actually listening on port 8123.

    sudo ss -tulpn | grep 8123

    You should see Home Assistant (usually as python3) listening on that port. If not, fix that first.

    Installing Tailscale in Docker

    Tailscale running as a Docker container on a UGREEN NAS alongside other self-hosted applications.
    Tailscale running as a Docker container on my UGREEN NAS.

    Install Tailscale as a Docker container on your NAS.

    docker pull tailscale/tailscale:latest
    docker run -d \
    --name=tailscale \
    --hostname=nas \
    --network=host \
    --cap-add=NET_ADMIN \
    --cap-add=NET_RAW \
    -v tailscale-data:/var/lib \
    tailscale/tailscale:latest

    Check the logs to get the authentication link:

    docker logs tailscale

    Open the URL shown, sign in, and approve the device.

    Make sure to click this link right away, as Tailscale login URLs expire after a few minutes. If it has expired, simply restart the container or re-check the logs to generate a new one.

    Note: In this example, Tailscale stores its configuration in a Docker named volume called tailscale-data. If you prefer to keep your container data in a specific folder for easier backups or management, you can replace the named volume with a local path that suits your environment.

    For example:

    -v /path/to/tailscale-data:/var/lib

    The exact location will depend on your operating system, NAS, or Docker setup.

    Verify the connection:

    docker exec -it tailscale tailscale status

    Setting up Tailscale on your phone

    Tailscale mobile app showing connected devices and assigned tailnet IP addresses.
    The Tailscale app lets you confirm your devices are connected and quickly find your NAS Tailscale IP address.

    Installing Tailscale on the NAS is only half of the setup. You also need it running on the device you actually want to connect from, which in my case is my iPhone.

    Download the Tailscale app from the App Store and sign in using the same account you used to authenticate the NAS. Once signed in, your phone will appear in your Tailscale admin console alongside your NAS.

    At that point, your phone is part of the same private network. Your phone is no longer “connecting into” your home network, it is effectively part of it.

    One useful thing is that the Tailscale app shows all connected devices and their assigned IP addresses. That means you can quickly check your NAS Tailscale IP directly from your phone without needing to SSH in.

    This is useful when setting things up or troubleshooting because you can confirm:

    • your NAS is online
    • your phone is connected to the tailnet
    • the correct Tailscale IP is being used

    Finding the Tailscale IP

    Get the Tailscale IP:

    docker exec -it tailscale tailscale ip -4

    You will get something like:

    100.x.x.x

    Use that to access Home Assistant remotely:

    http://100.x.x.x:8123

    This uses HTTP, not HTTPS. Tailscale already encrypts the connection, so forcing HTTPS here will break things.

    Configuring the Home Assistant Companion App

    Home Assistant Companion App server settings showing internal and external URL configuration.
    Directly after “Configuring the Home Assistant Companion App” and before you explain Internal vs External URLs.

    In the Home Assistant Companion App, you need to set the Internal URL and External URL.

    On iPhone, open the app and go to:

    Settings → Companion App → Server Settings

    (If you have multiple servers configured, tap your server first, then open Server Settings.)

    Use your local IP for Internal URL:

    http://192.168.x.x:8123

    Use your Tailscale IP for External URL:

    http://100.x.x.x:8123

    Both should use HTTP. Tailscale already encrypts the connection, so you do not need HTTPS here.

    Once set, back out of the menu and give the app a few seconds to reconnect. If everything is correct, it should connect both on WiFi and over Tailscale without any errors.

    VPN On Demand on iPhone

    One thing I highly recommend enabling is VPN On Demand inside the Tailscale app.

    Enable it for both WiFi and cellular so the connection is automatic. That way you do not need to remember to manually connect before opening Home Assistant.

    This makes the whole setup feel much more seamless day to day and also improves reliability for things like presence detection and geofenced automations because your phone maintains a consistent connection back to Home Assistant.

    The issue that caused the most confusion

    The biggest problem I hit was not Home Assistant. It was Tailscale Serve taking over port 8123.

    sudo ss -tulpn | grep 8123

    If you do not see Home Assistant on that port, something else has taken it.

    Fix it with:

    tailscale serve reset

    Hardware I Use

    Before I wrap up, a quick note: some of the links below are Amazon affiliate links. If you choose to purchase through them, I may earn a small commission at no additional cost to you. I only recommend products I personally use or have hands-on experience with.

    The software in this guide is free, but if you’re curious about the hardware behind my setup, this is what I currently use:

    I’ve been using this setup for Home Assistant, Docker containers, remote access through Tailscale, and various self-hosted projects. If you’re building something similar, these are the components I have the most hands-on experience with.

    Final thoughts

    Tailscale ended up being one of the most useful additions to my setup, not because it was flashy, but because it removed friction.

    Once it was configured, I stopped thinking about remote access entirely. Combined with a stable home network, which I discussed in  What Actually Happens on Your Network (Why WiFi Feels Inconsistent), it became one of those rare pieces of infrastructure that simply fades into the background and does its job.

    There are more advanced ways to achieve the same result, and for some setups they will make sense. But for me, this struck the right balance. It solved the problem I actually had without introducing more moving parts to maintain.

    Looking back, that was the biggest win. Not just remote access, but a simple foundation I can keep building on without having to rethink it every time I add something new.
  • UGREEN US3000 UPS Review – The Perfect NASync Companion

    UGREEN US3000 UPS Review – The Perfect NASync Companion

    Disclosure: As an Amazon Associate, I earn from qualifying purchases. Some links in this article may be affiliate links, which help support the site at no extra cost to you.


    Introduction

    After a week of daily use, the UGREEN US3000 UPS has already proven why it exists. Power protection isn’t glamorous, but even a short outage can corrupt drives or interrupt critical writes on a NAS.

    UGREEN designed the US3000 to prevent that exact risk — not by adding complexity, but by integrating power management directly into UGOS Pro, the same operating system used in the NASync series. (If you want to see how it performs in practice, read my UGREEN NASync DXP2800 two-month review for a deeper look at daily reliability and real-world performance.)

    Unlike most universal UPS units that rely on dated software and manual setup, this compact model is purpose-built for NASync devices. It feels more like a built-in safeguard than an accessory — quietly doing its job in the background.


    Design and Build Quality

    The US3000 is constructed from solid aluminium alloy, finished in the same matte silver-grey as the DXP-series NAS units. It’s small (120 × 80 × 30 mm, 440 g) yet dense, with precise machining and no flex.

    Inside, it houses a 12 000 mAh (43.2 Wh) battery pack made from four SunPower INR18650-3000 cells wired in series. Dedicated circuitry manages charging, discharge rate, and temperature control, while the metal enclosure doubles as a passive heatsink.

    The internal layout is clean and practical: foam-cushioned cells, Mylar-insulated wiring, and reinforced connectors. The supplied DC5525 and USB-C cables are short and tidy — ideal for rack or shelf setups. It’s clear UGREEN designed this as a true companion for its NAS line rather than a generic UPS.


    Setup and Integration with NASync

    Setup takes under five minutes. Connect the US3000 between your NAS and its power supply using the DC5525 lead, then attach the USB-C cable.

    Once powered, UGOS Pro detects the UPS automatically under Control Panel → Hardware & Power → UPS. From there you can view charge status, voltage, and shutdown options — all without installing drivers or third-party software.

    That seamless integration is what separates it from typical UPS units. The US3000 appears in UGOS Pro as a managed device, enabling automatic shutdown and recovery when power returns.

    If you’re just starting out with your NASync, my beginner setup guide for the UGREEN DXP2800 covers this interface step by step.


    Performance and Everyday Use

    The US3000 focuses on one thing: controlled shutdowns. It’s not a long-duration backup — it’s protection done right.

    UGOS Pro offers two response modes:

    1. Standby Mode

    • NAS continues running on battery during an outage.

    • If mains returns quickly, it resumes seamlessly.

    • If power doesn’t return, the NAS shuts down gracefully before the battery is depleted.

    2. Auto Shutdown

    • NAS immediately begins its shutdown sequence.

    • Services stop cleanly and drives park safely.

    • Once power is restored, it restarts automatically.

    I keep mine set to Auto Shutdown — it’s the safest option for unattended use. In testing, both modes worked perfectly. The DXP2800 switched instantly to UPS power and completed its shutdown sequence cleanly, with zero voltage fluctuation.

    Recharge takes about two hours, and because it uses DC-to-DC conversion instead of AC inversion, it runs completely silent and highly efficient.

    If you’d like to see how the DXP2800 performs under typical workloads, the two-month NASync review includes real-world tests on transfer speeds, app stability, and power use.


    Compatibility and Runtime Estimates

    Runtime figures from NASCompares, ChargerLab, and UGREEN show the UPS is tuned for short, controlled operation.

    NAS ModelCPUMax DrawEst. Runtime
    DXP2800Intel N100≈ 35 W≈ 10 min
    DXP4800Intel N95≈ 45 W≈ 8–9 min
    DXP4800 PlusIntel Core i3-N305≈ 55 W≈ 7 min
    DXP8800 PlusIntel Core i5-1235U≈ 70 W≈ 6 min
    DH2600 / DX4600Various< 50 W≈ 8–9 min

    Rated for 120 W DC output (12 V / 10 A, 19 V / 7.9 A, 20 V / 7 A), it easily handles every NASync model. No configuration is needed — UGOS Pro manages detection and shutdown automatically.

    For context on how drive selection affects power usage, see Choosing the Best Drives for Your NAS – HDD vs SSD Recommendations.


    Inside the US3000 (Teardown Insights)

    ChargerLab’s full teardown of the UGREEN 120 W DC UPS shows just how well built this unit is.

    It uses a Chipsea CBM8580KV6NT for battery management and SMBus communication, a Texas Instruments TPS55289 for buck-boost power regulation, and a GigaDevice GD32F303RCT6 microcontroller (Cortex-M4 @ 120 MHz) for logic and protection.

    Each of the four battery cells is individually insulated and cushioned, while the PCB is shielded with Mylar and protected by dual fuses and thermistors. Wiring is reinforced, neatly routed, and the aluminium chassis itself acts as a heatsink.

    It’s a compact, efficient design that would look right at home in professional-grade hardware.


    Highlights

    • Native integration – Full hardware-software link through UGOS Pro; zero configuration.

    • Smart behaviour – Automatic standby and shutdown for controlled response.

    • Premium build – Machined aluminium shell, insulated internals, efficient cooling.

    • Power efficiency – DC-to-DC conversion for silent, stable operation.

    • Effortless ownership – Quick recharge, no maintenance, seamless protection.

    If you’re exploring ways to make your NAS more versatile, try Top 10 Docker Containers to Supercharge Your NAS — it’s packed with apps that complement a NASync setup perfectly.


    Limitations

    • Runtime – ≈ 43 Wh battery provides 6–10 minutes of backup; enough for graceful shutdowns, not long-term use.

    • Device scope – Exclusive to UGREEN NASync systems.

    • Availability – Still limited in retail channels but expected to expand soon.

    For users wanting both on-site and off-site protection, pair this with Automated NAS Backup to Azure via Rclone Guide to create a full-stack backup strategy.


    Final Verdict

    After a week of use, the UGREEN US3000 UPS has become one of those accessories you forget about — until it saves your data. It’s compact, silent, efficient, and integrated so tightly with UGOS Pro that it feels like part of the NAS itself.

    It won’t keep your system running forever, but it ensures it never shuts down the wrong way — and for NAS owners, that’s what really matters.

    If you’re building or upgrading a NASync setup, the two-month UGREEN DXP2800 review offers detailed insights into everyday use and performance, while Best Home Security Cameras for Your NAS (Cloud vs PoE) covers surveillance options that pair perfectly with this UPS.

  • UGREEN U3000 UPS First Look — Small but Mighty

    UGREEN U3000 UPS First Look — Small but Mighty

    The wait is finally over — my UGREEN U3000 UPS has arrived!

    Right out of the box, I was caught off guard by its size. It’s unbelievably compact — almost the same footprint as my UGREEN Magnetic Power Bank, which makes it feel more like a portable charger than a full UPS system.

    This little unit is designed specifically for UGREEN’s NASync lineup, offering 120W of DC backup power with zero-second transfer time. That means if the power cuts out, your NAS keeps running instantly with no delay.

    It’s a clean, modern take on backup power — no bulky fans, no heavy lead-acid batteries, and no cluttered cabling. Just a sleek matte black box that slots quietly beside your NAS.

    I’ve just got it set up with my UGREEN NASync DXP2800, and here’s a quick look at the hardware, the software integration, and why this might be one of the smartest little UPS units around.


    Unboxing & First Impressions

    UGREEN U3000 UPS packaging showing 120W DC backup design.
    Simple, clean packaging that sets the tone for UGREEN’s minimalist design approach

    The box presentation is classic UGREEN — understated and premium. Even before opening it, you get the sense that this is designed to fit neatly into a modern setup rather than dominate it.


    Compact Design

    UGREEN U3000 UPS on desk showing its compact matte finish.
    The matte finish and solid build make it feel far more premium than its size suggests.

    Once unboxed, the size difference really stands out. When placed next to my UGREEN Magnetic Power Bank, they’re nearly identical in dimensions. Seeing them side by side drives home just how compact this UPS truly is — it’s impressive that something this small can output 120W of continuous power.

    UGREEN U3000 UPS compared with UGREEN Magnetic Power Bank.
    Almost pocket-sized — the U3000 looks more like a power bank than a UPS.

    Ports & Connectivity

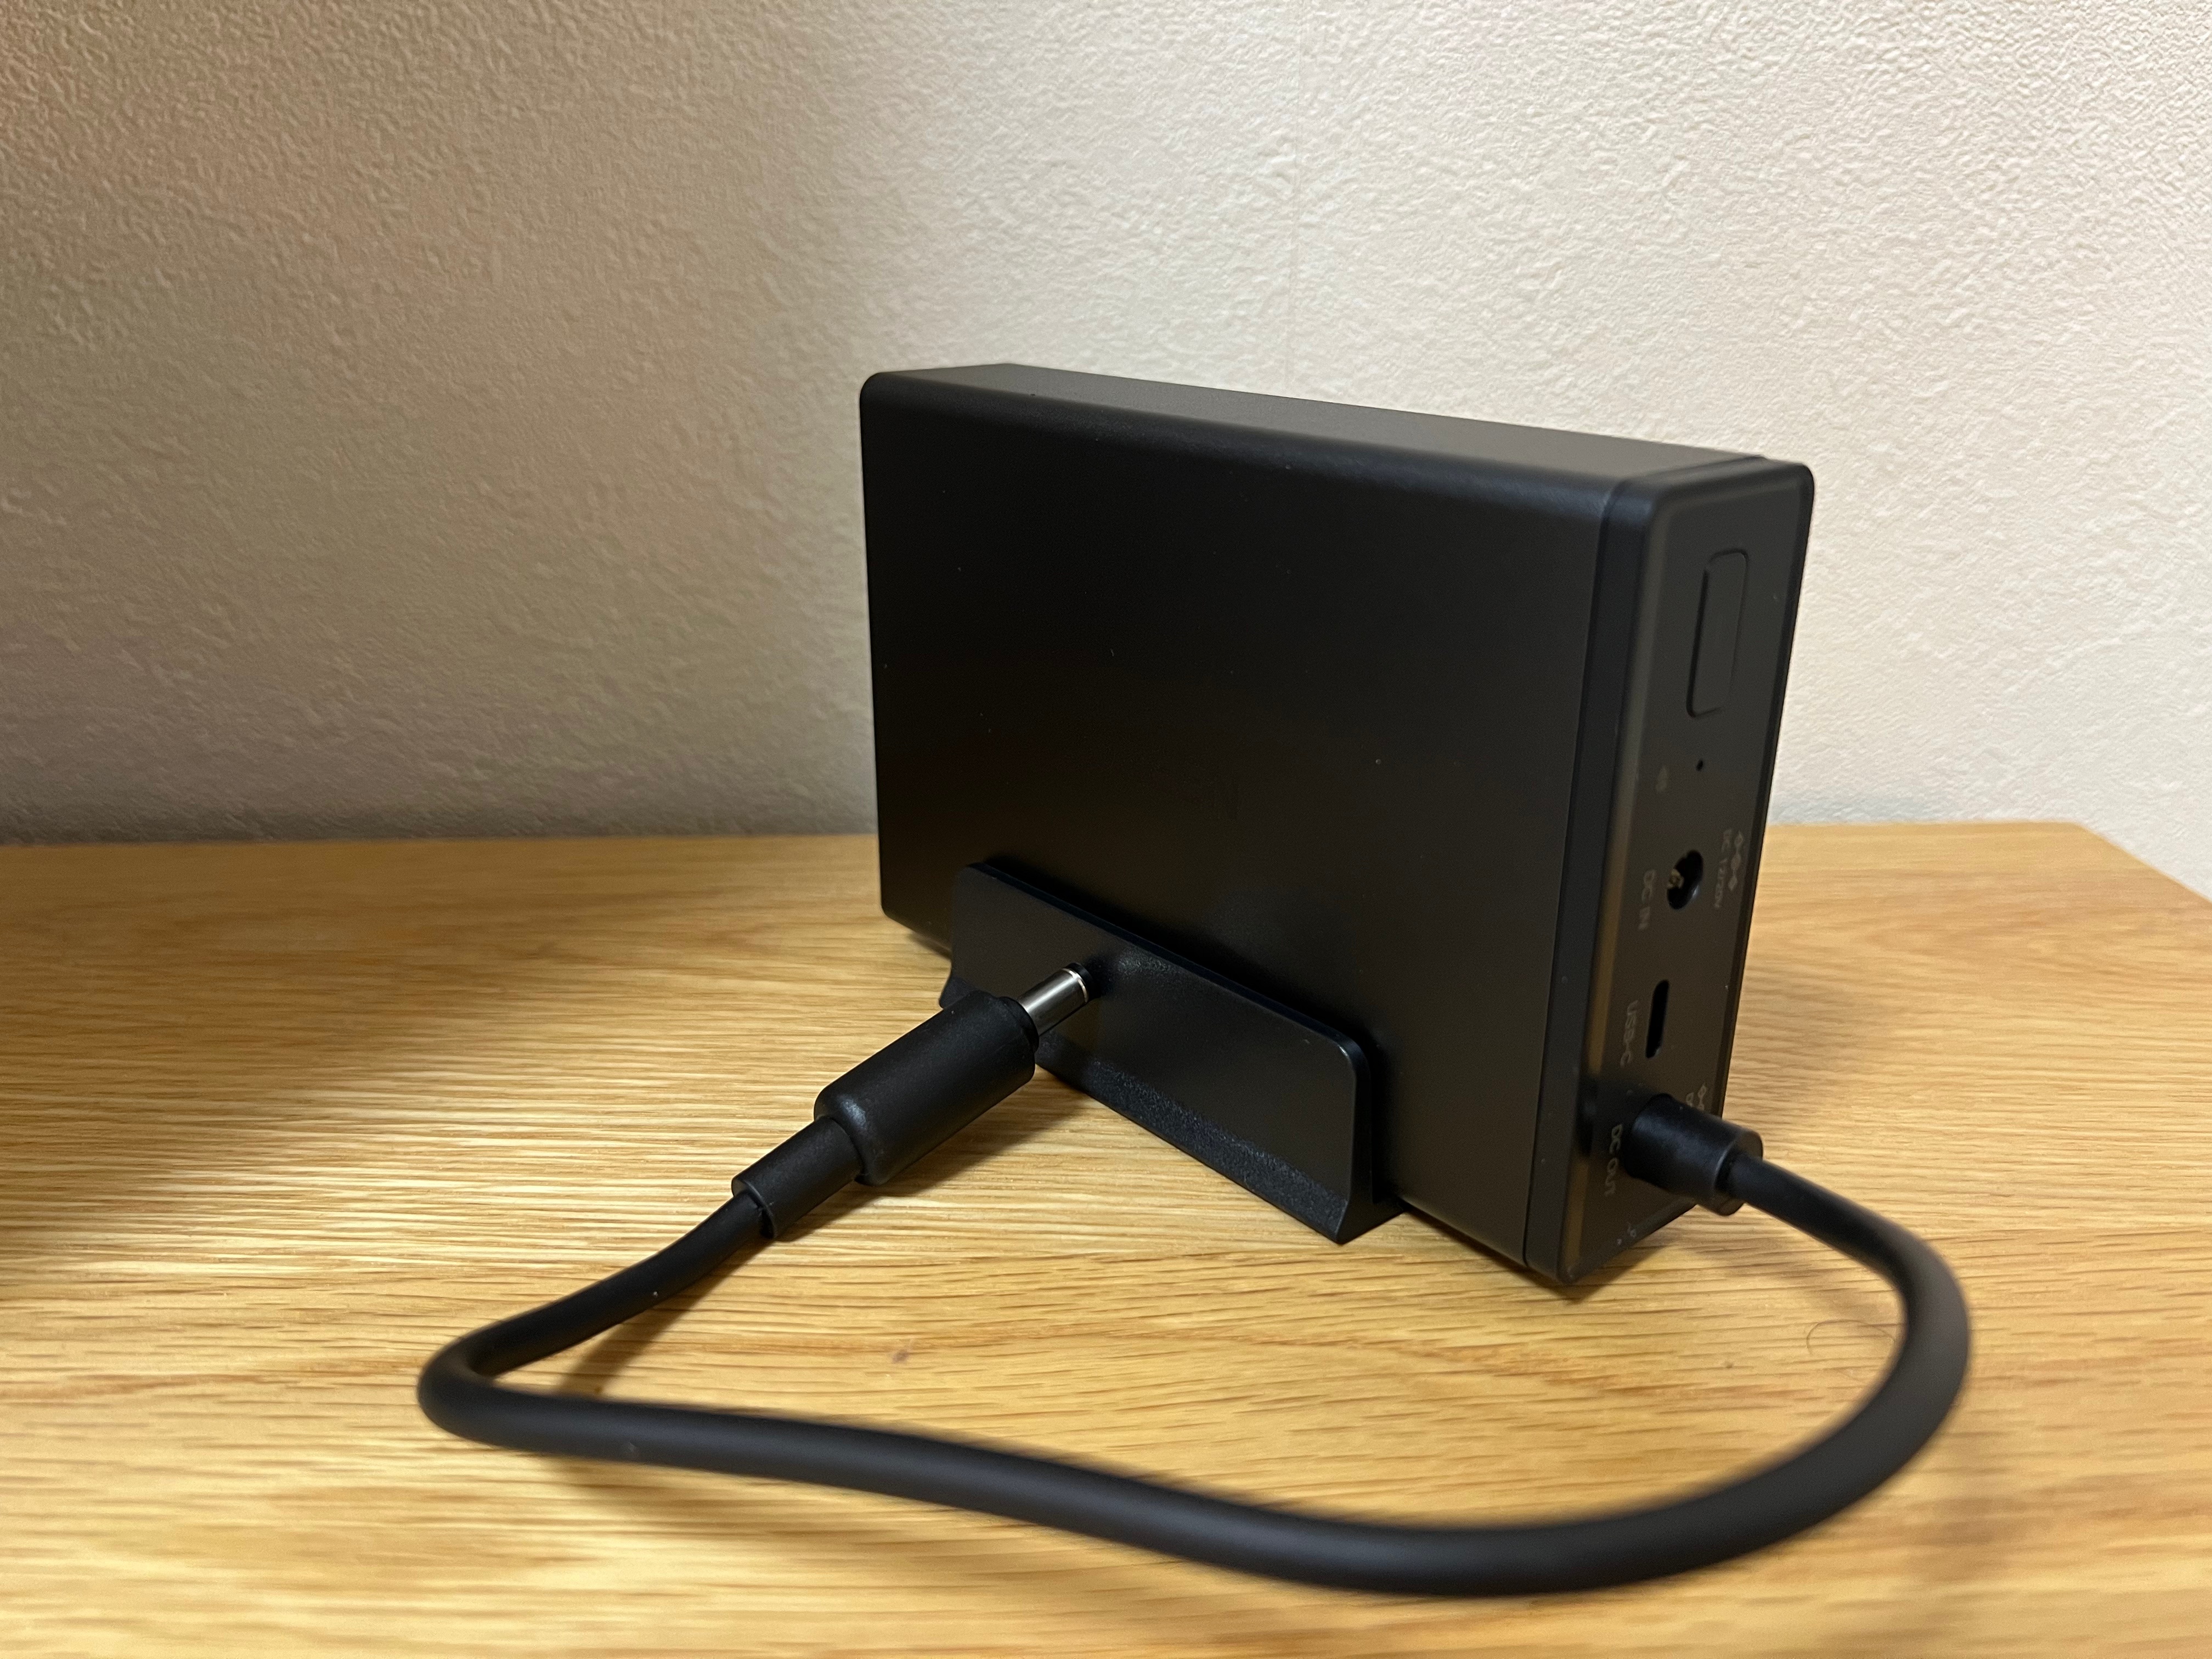
    Close-up of UGREEN U3000 UPS rear ports including DC IN, DC OUT, and USB-C
    Straightforward port layout — DC IN, DC OUT, and USB-C for monitoring.

    The rear layout is clean and functional, featuring DC input/output and a USB-C port for communication. It runs silently and uses passive cooling, which is a welcome change from traditional UPS fans humming in the background.


    Smart Integration

    PC control panel view of UGREEN US3000 UPS showing connection status, firmware version, and NUT options.
    The U3000 is recognised instantly through the NAS interface with full NUT support.

    Connecting the U3000 to the NAS was completely plug-and-play. It appeared right away under the UPS settings as UGREEN US3000, showing battery capacity, firmware version, and auto-shutdown options.

    The UPS also supports NUT (Network UPS Tools) — an open-source protocol that allows the NAS to detect power changes and automatically shut down safely if the battery runs low. It’s a small but important addition that makes the system much more reliable in real-world conditions.


    Next Steps

    Over the next few days, I’ll see how the U3000 performs under normal NAS workloads — how quickly it switches to battery, how stable it runs during short outages, and how the NUT integration behaves over extended use.

    If you are building out your NAS, check my guide Choosing the Best Drives for Your NAS Setup and my roundup NAS Compatible Security Cameras to see how it all fits together.

    Stay tuned — this compact little unit might be one of the best NAS accessories UGREEN has released so far.